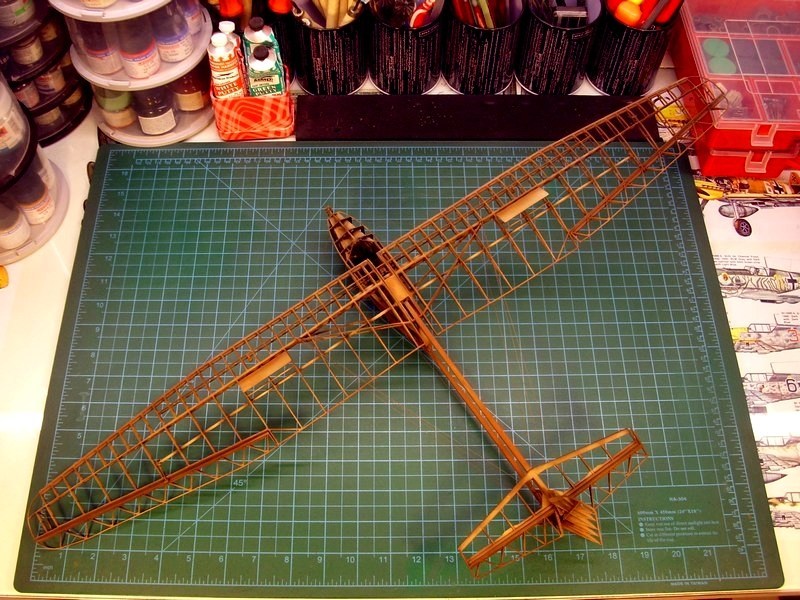
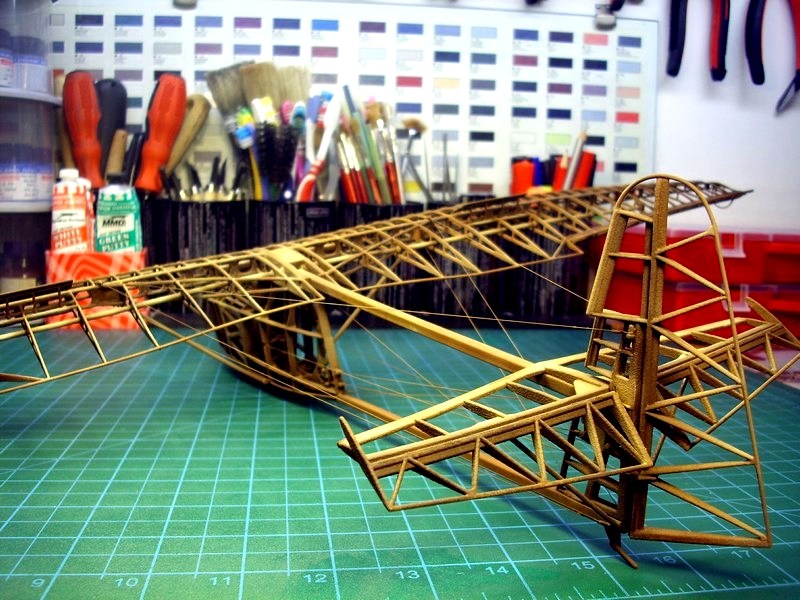
CHAPTER VI - Grass field display base construction
When I started this project, I was concerned about the proper display option, on which the model would be placed. For this reason, I asked fellow modelers to advice on how they would do if in my position. Talented & world class scale modelers such as Mr. Rick Lawler from
AK interactive team, honored me by sending their kind answers, suggesting what best to do according their opinion - I thank them all. Most of the responses I got, recommended simplicity & austerity with no extra diorama features. Just to place the cutaway shaped model onto a dark colour or black) shiny laminated wooden base, so that nothing would distract viewer’s attention from main subject - the Salamandra cutaway.
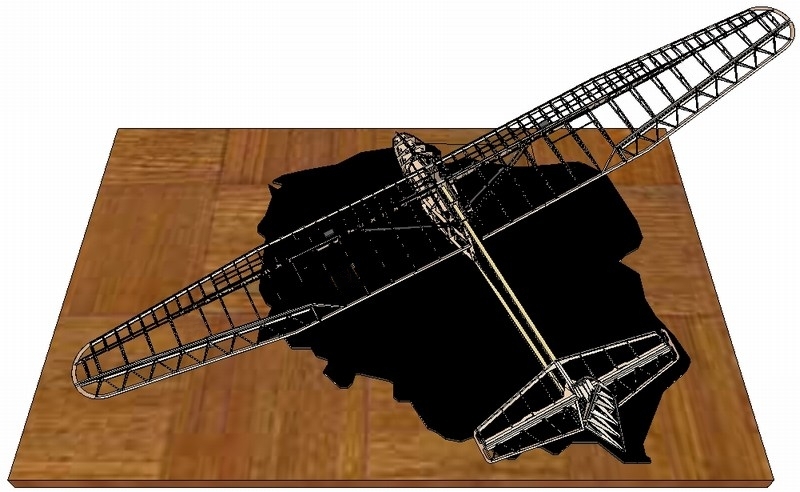
Following their advice, I tried some dry fit tests with few spare laminated wooden bases I had, to check how it looked like. I tried different shades of wood and finaly black sheet of plexiglass. Evidently the visual experiment clearly proved that the model got nearly disappeared into the natural wooden base's background, regardless of whether the background was light, medium or dark wood. Since the actual IS-A frame was entirely made of wood, it seemed that placing the model on a wooden base, might not be good idea. Black plexiglass tests, also didn’t looked right to me.
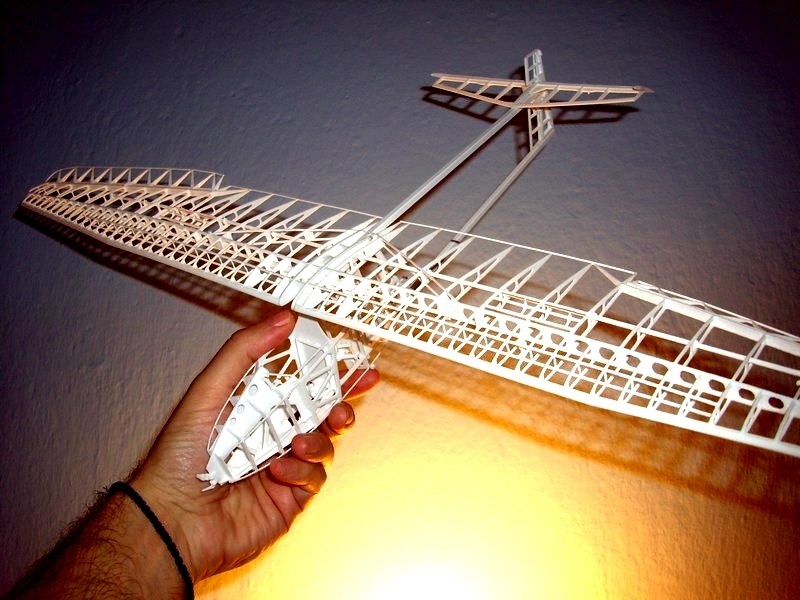
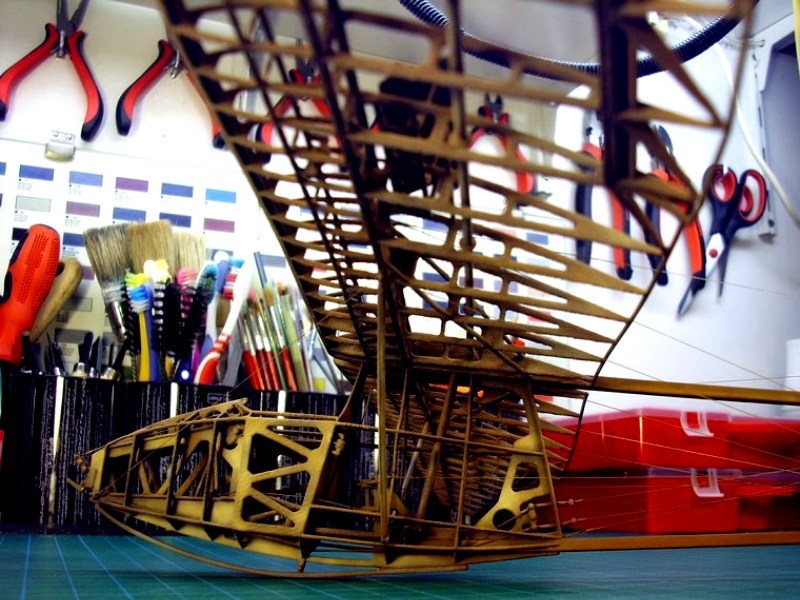
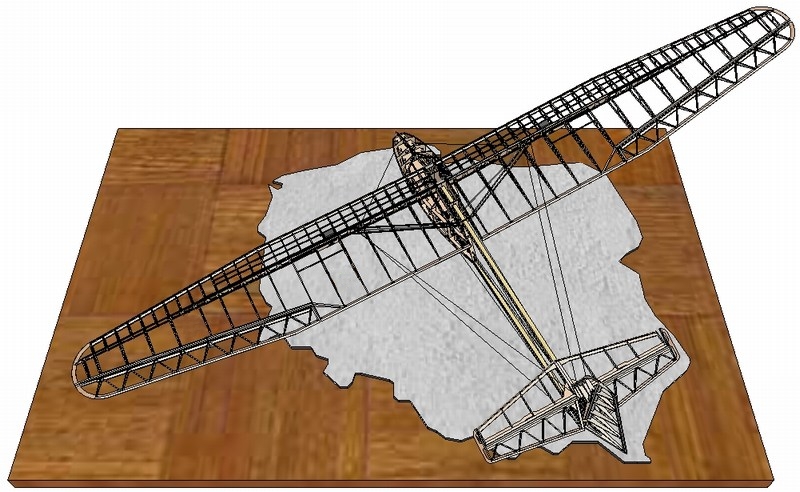
I also received suggestions for mounting the glider on a clear pole which seemed nice idea, but model’s cutaway stucture was too fragile to be securely pinned on a single point. I also tried to digitaly create a virtual model, with the glider placed on a concrete tarmac or shiny black ground, cut on Poland’s map shape - since the IS-A was a typical sample of pre WWII Polish aviation design.
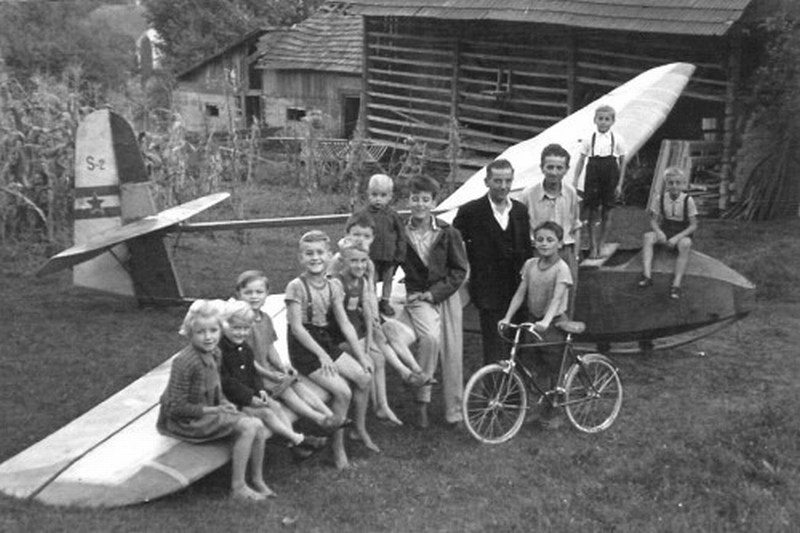
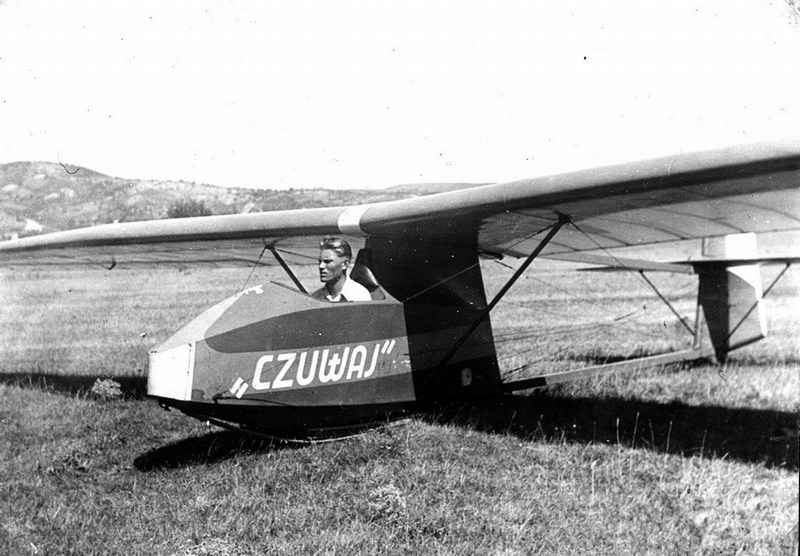
I was almost sure I was going through a non-creative phase and getting ready to pack the model in a box and store it until having some good idea. Unexpectedly, I became obsessed with the idea of placing the glider model on a "
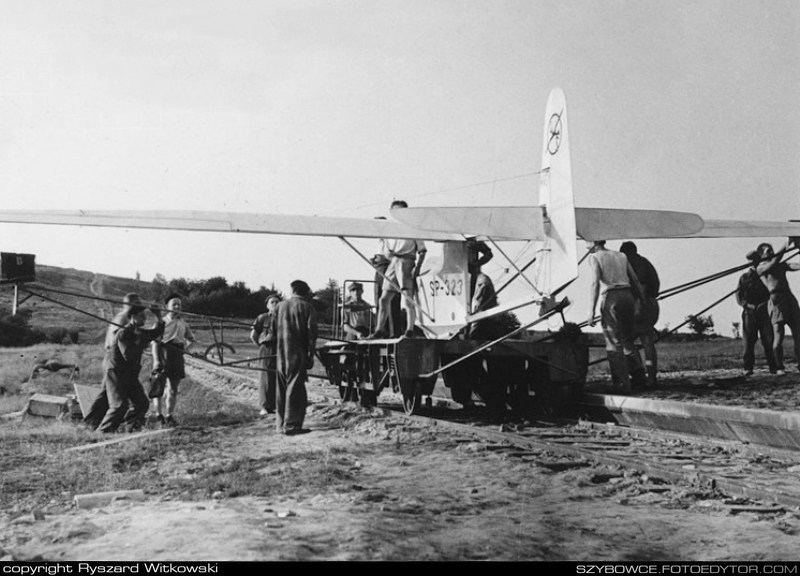
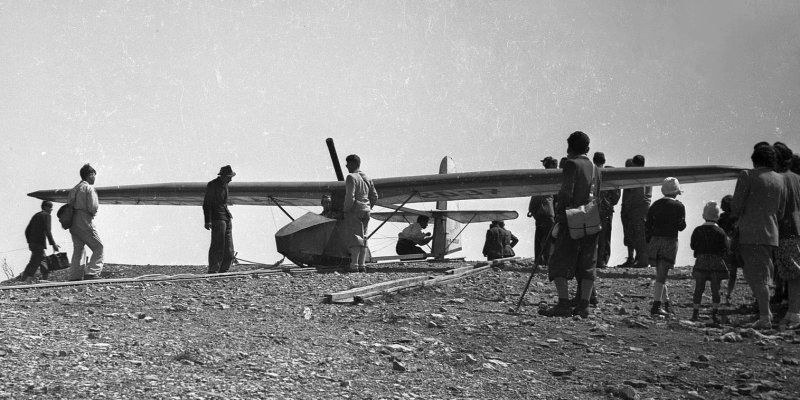
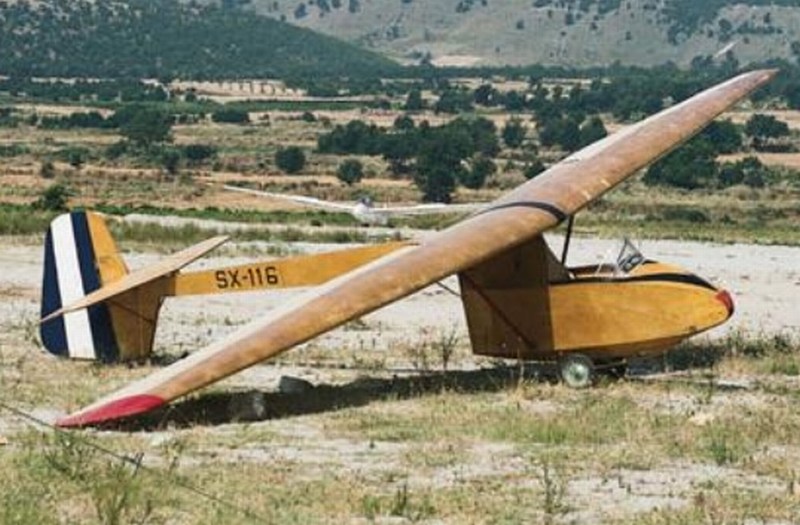
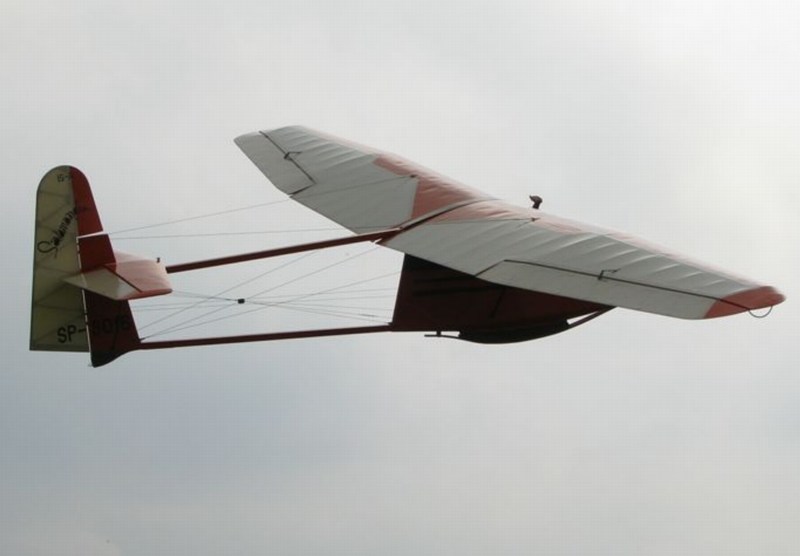
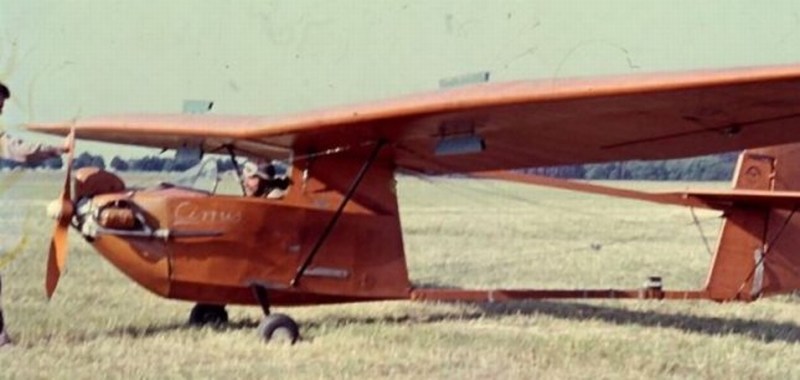
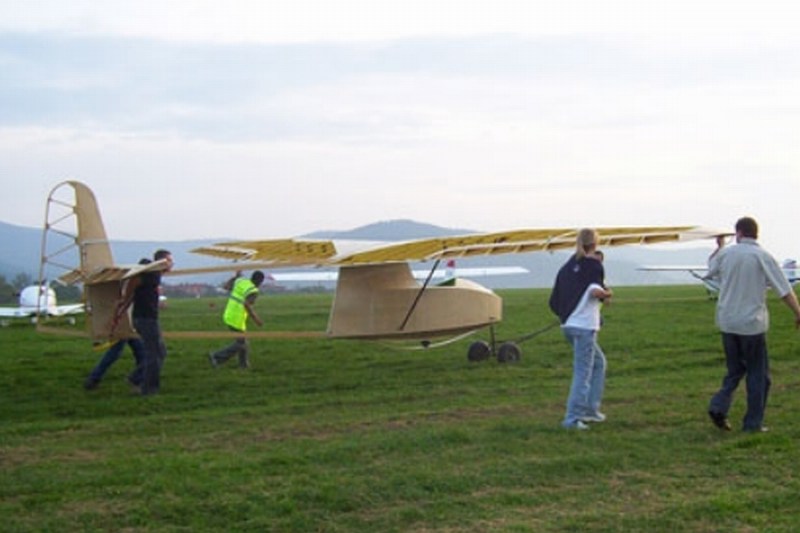
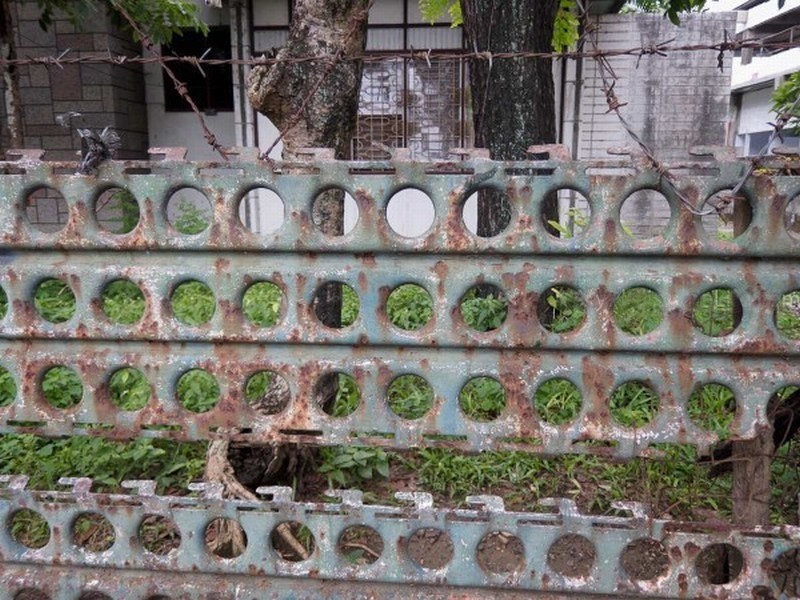
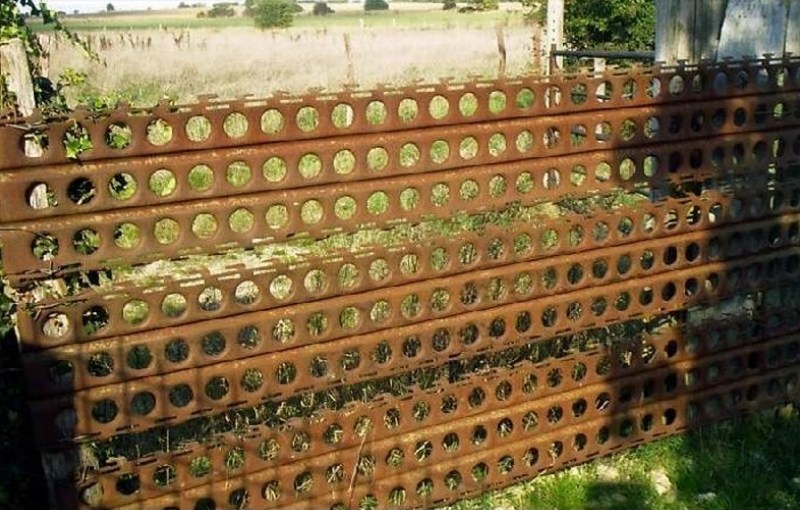
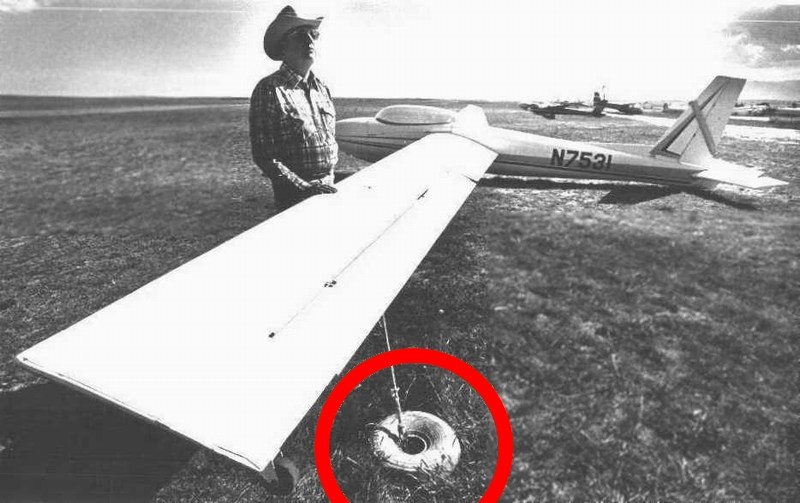
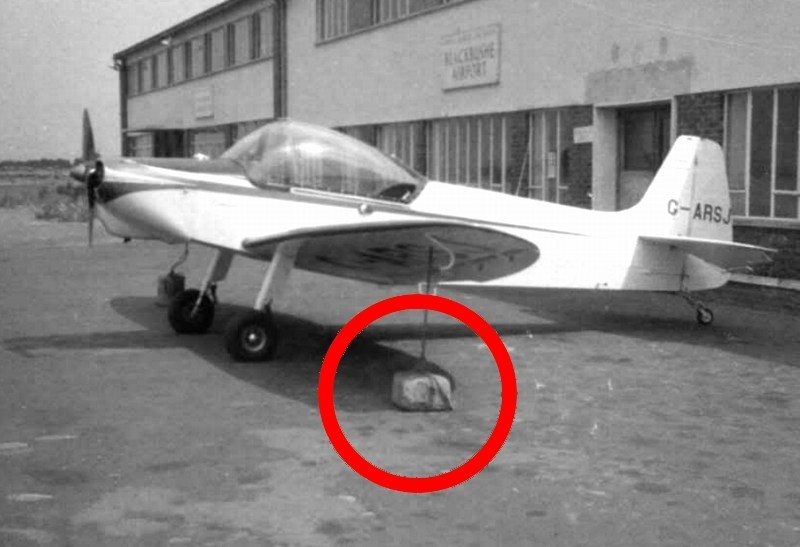
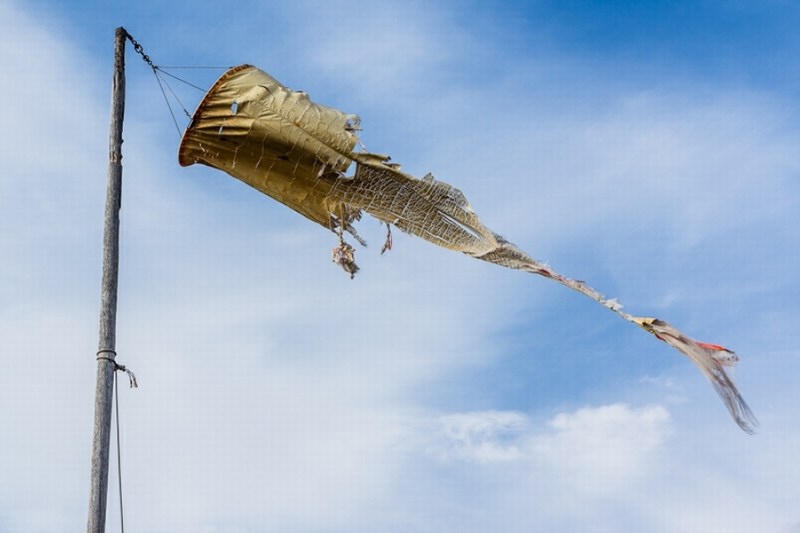
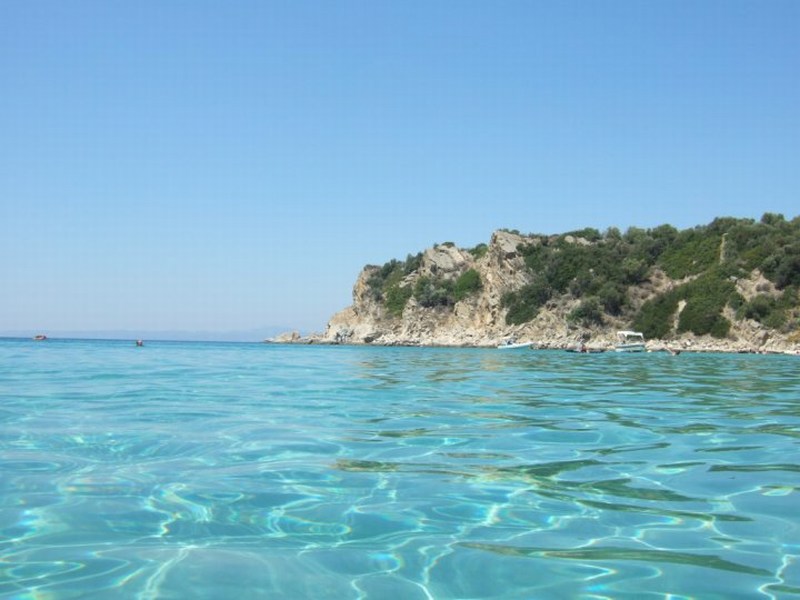
grass airfield" dio base. Probably, my opinion had been shaped (aka influenced) by viewing the following two pictures, where the IS-A glider is laying on the Spring green grass.

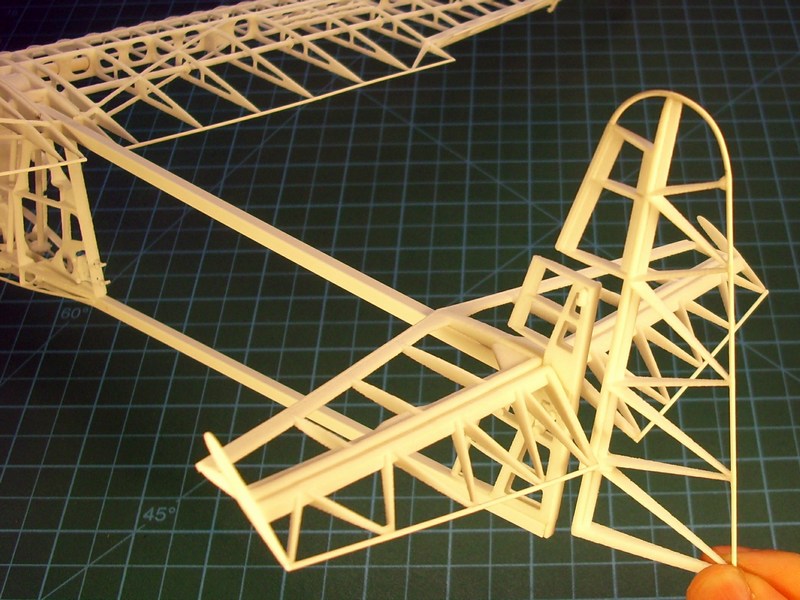
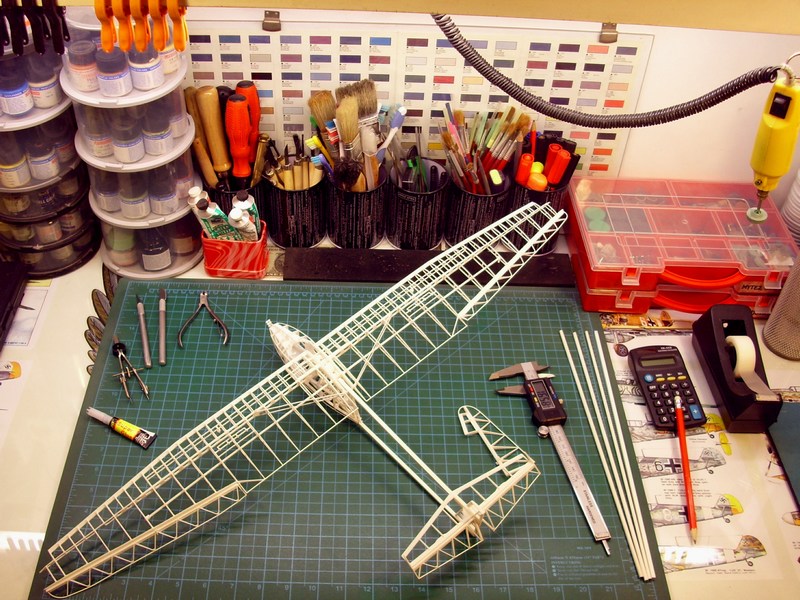
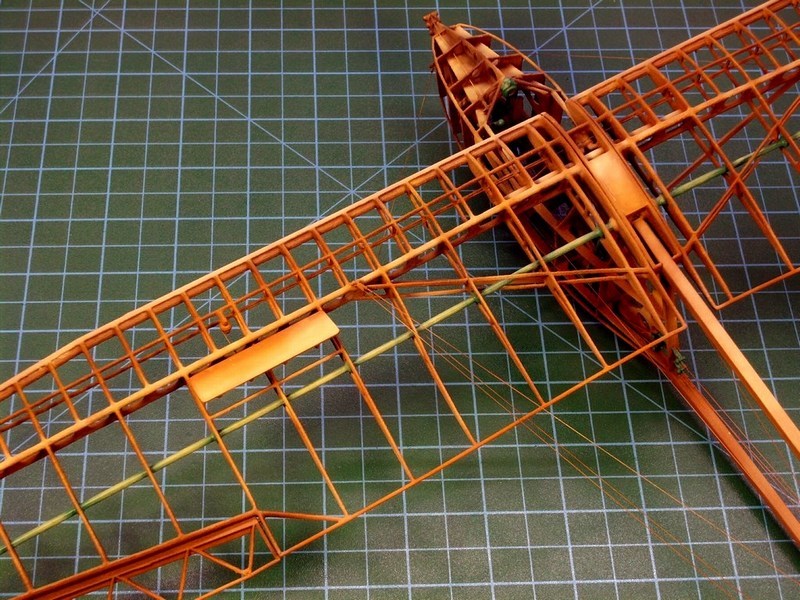
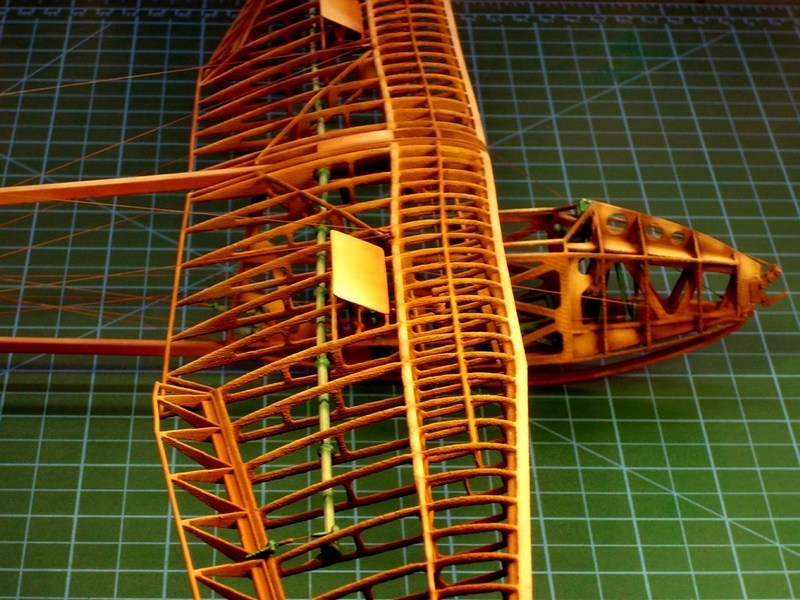
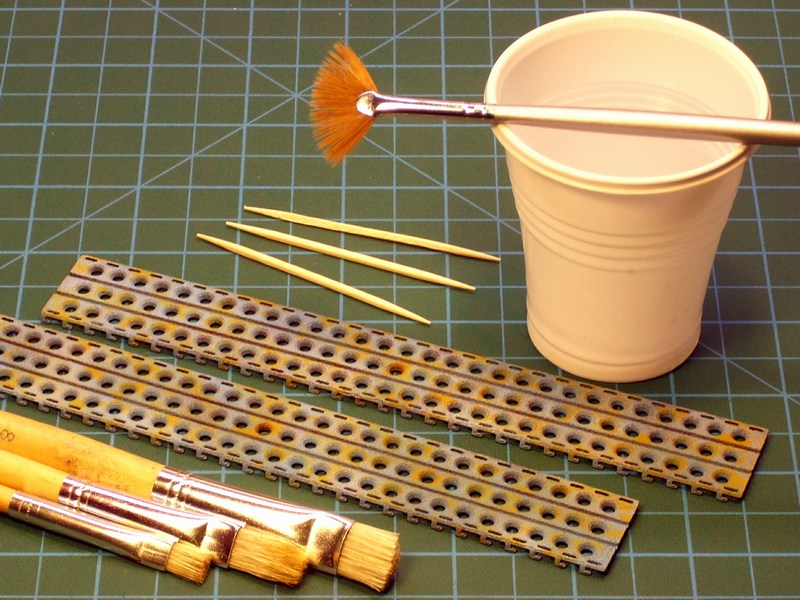
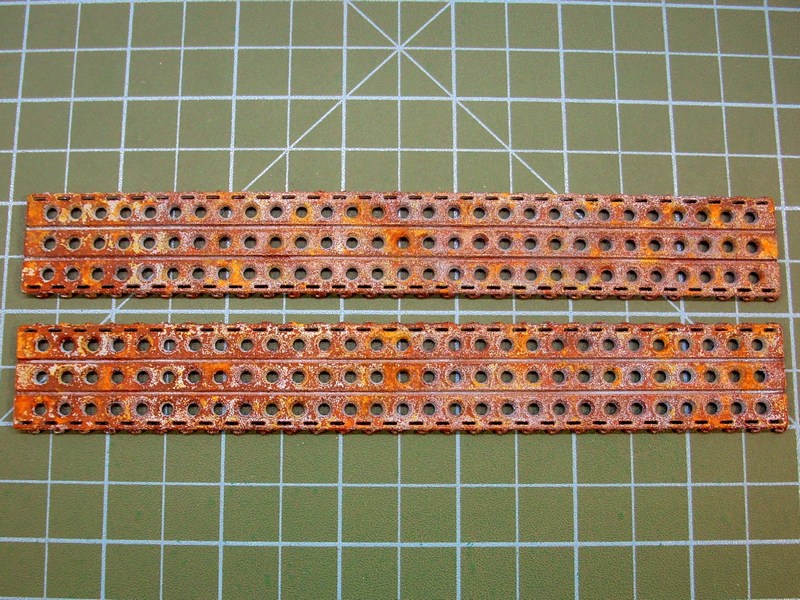
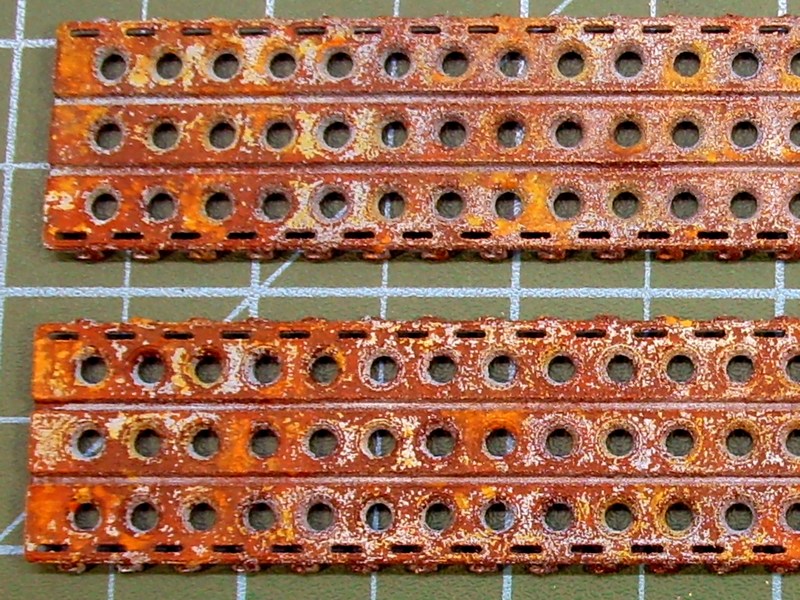
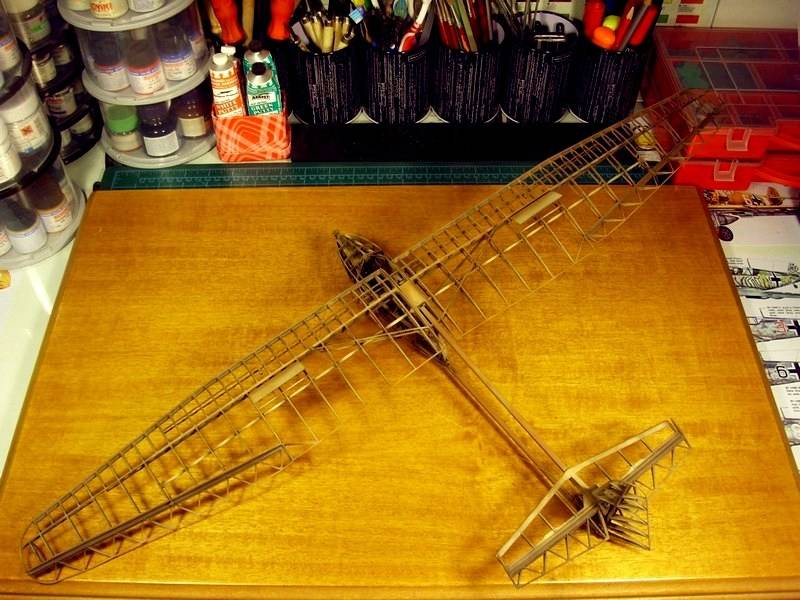
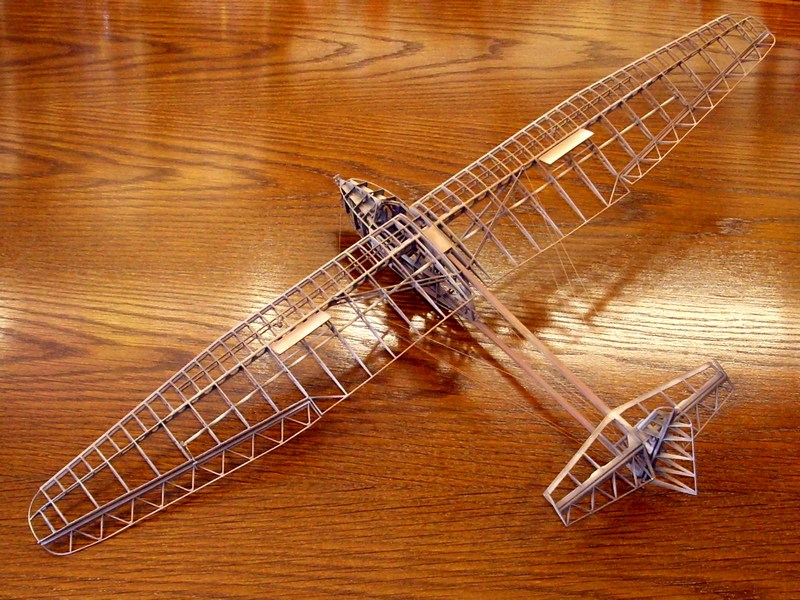
My goal is to recreate a scene of an aeroclub small airfield, where the old Salamandra is now resting in peace. I ‘ll try to place the glider in such a way that will look like an old time abandoned wreck, with all plywood & fabric lining removed, tilted sideways to rest on the short green grass field, with one wingtip touching the ground and the other on air. Some torn fabric & plywood parts would be also laid nearby, some rusted & cut wires, possibly a couple of
Marsden matting / PSP - Pierced Steel Planking plates or maybe a waving windsock etc. could be also present in scene. In general, a picture of terse abandonment, without extreme features that could distract viewer’s attention, keeping the glider as the main protagonist of the story. From an artistic point of view, the abandonment might possibly dictate everything to be into a state of complete wreckage. That would not be the desired result, because it would lead into a diorama scene, where the Salamandra would no longer be the protagonist. My aim is to balance the scene, while filling empty space & keeping the IS-A as the only "model" on display.
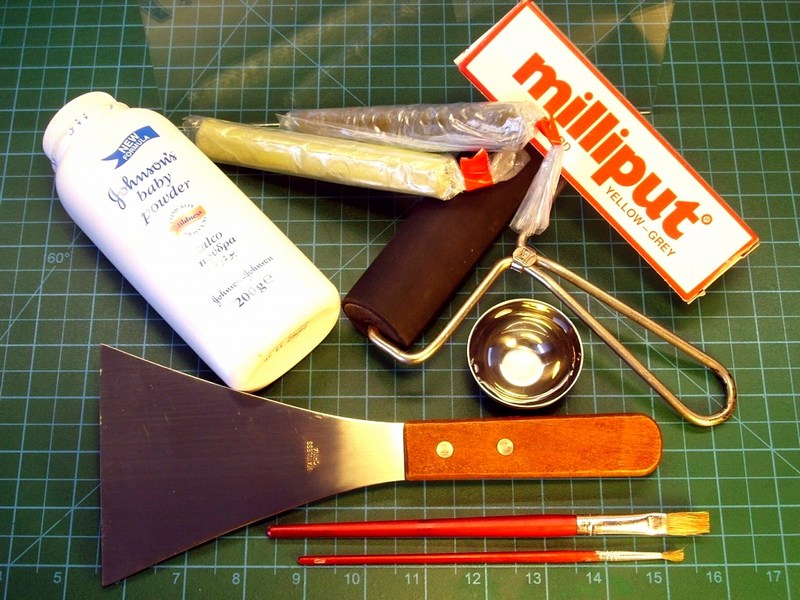
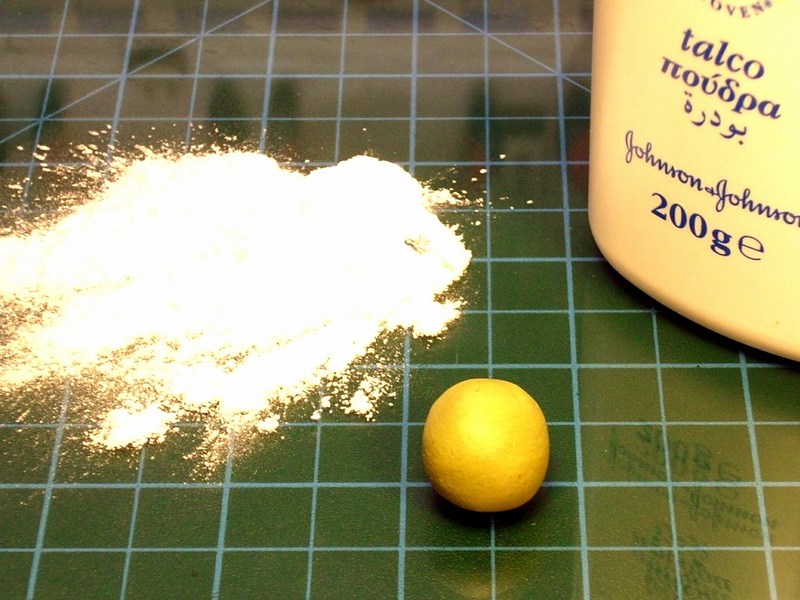
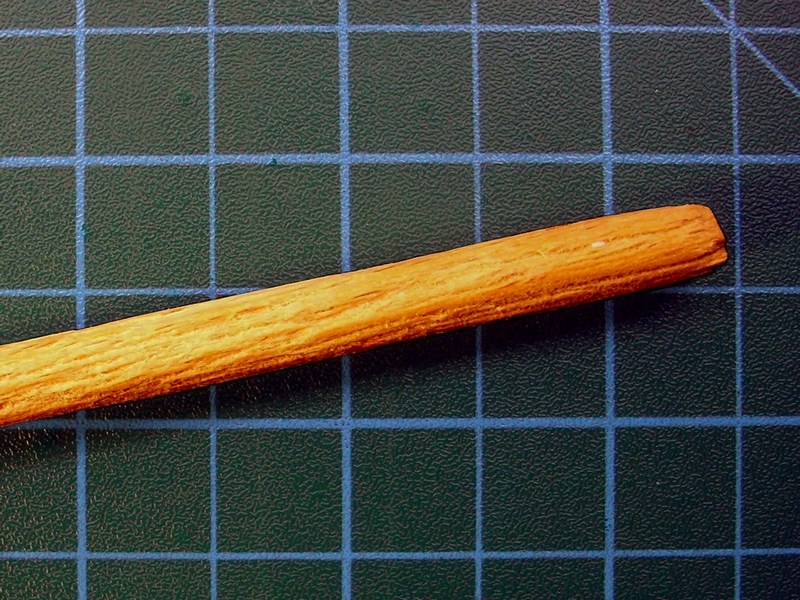
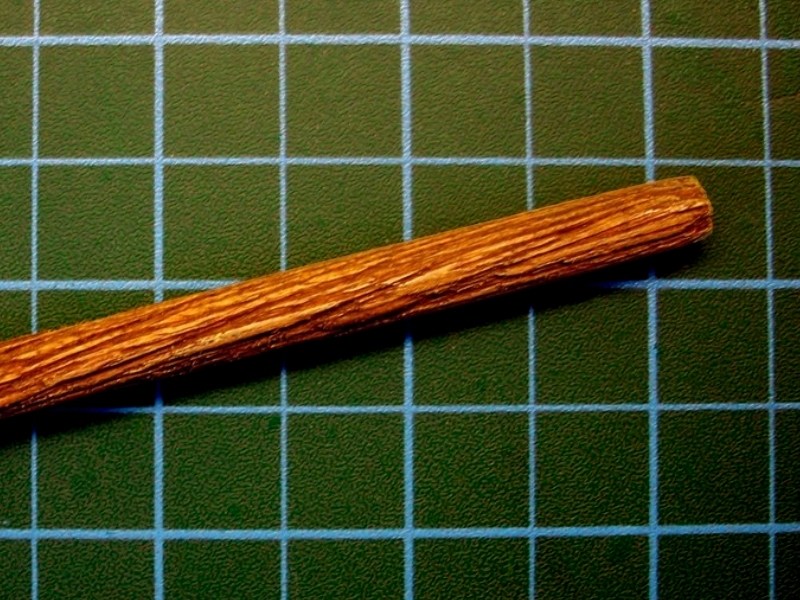
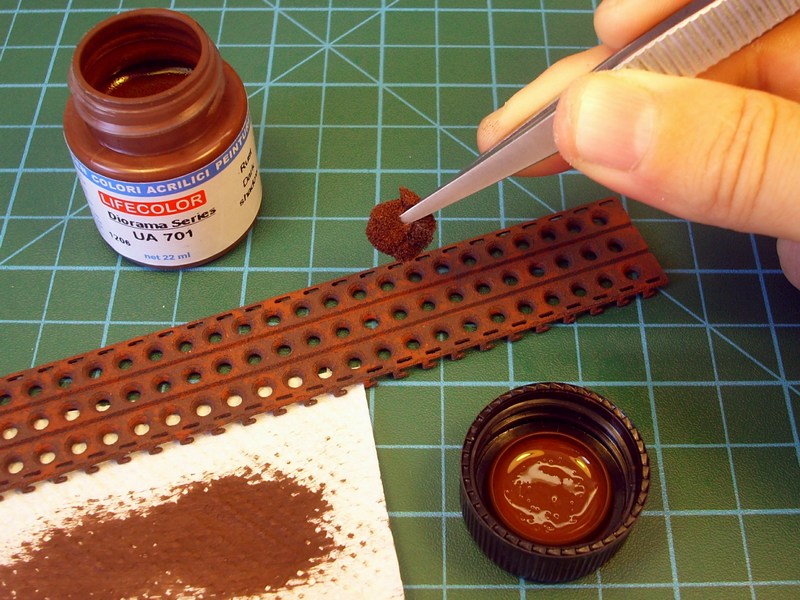
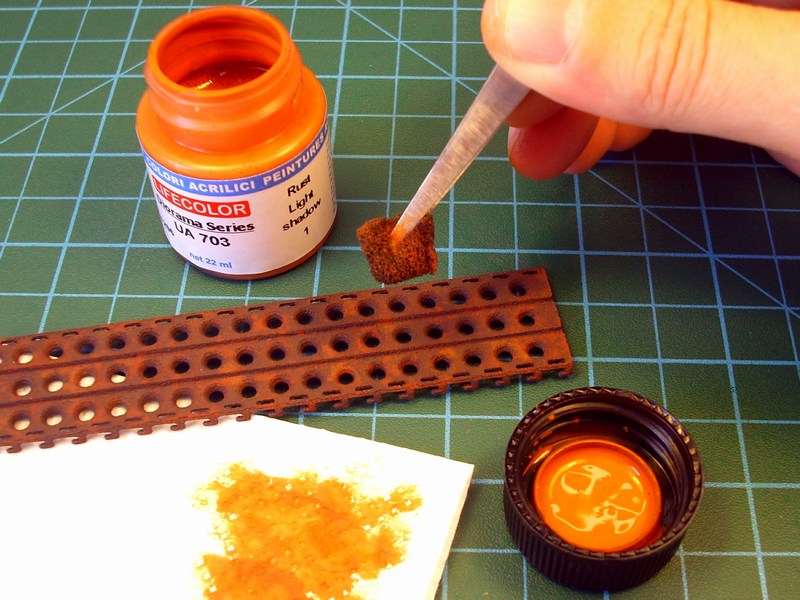
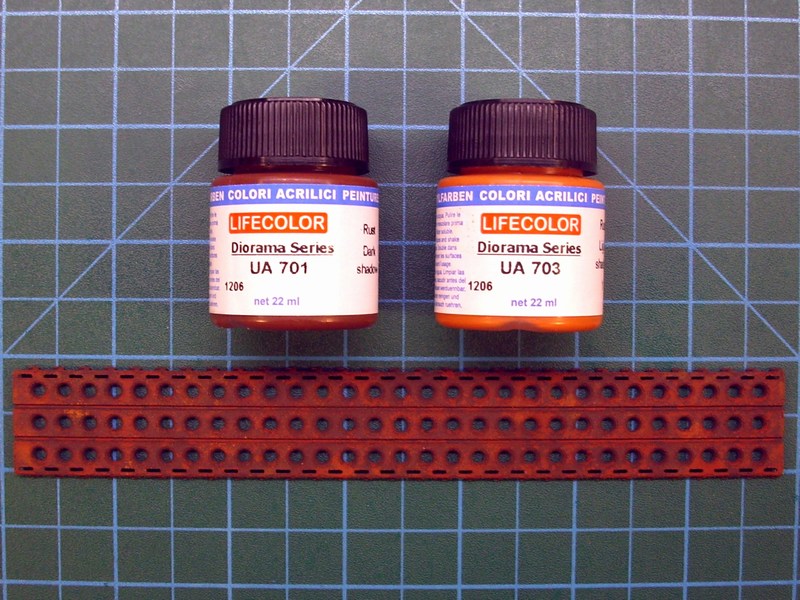
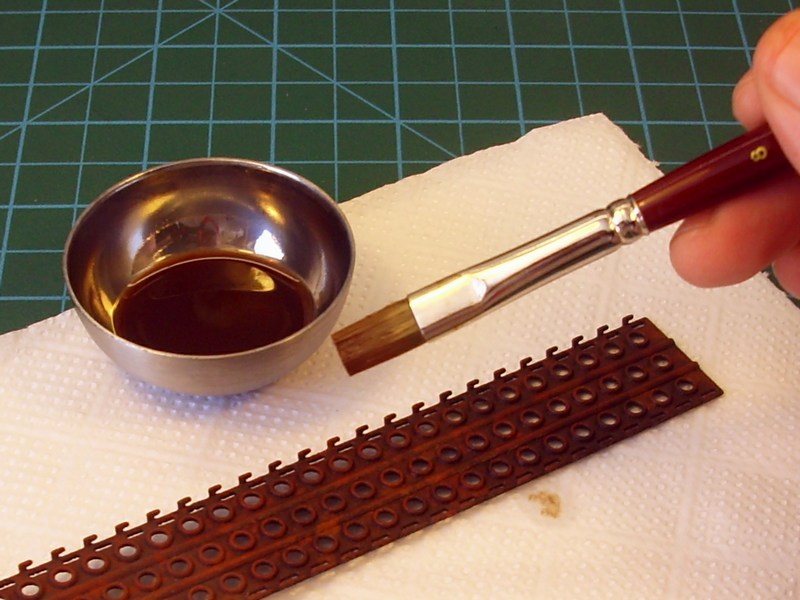
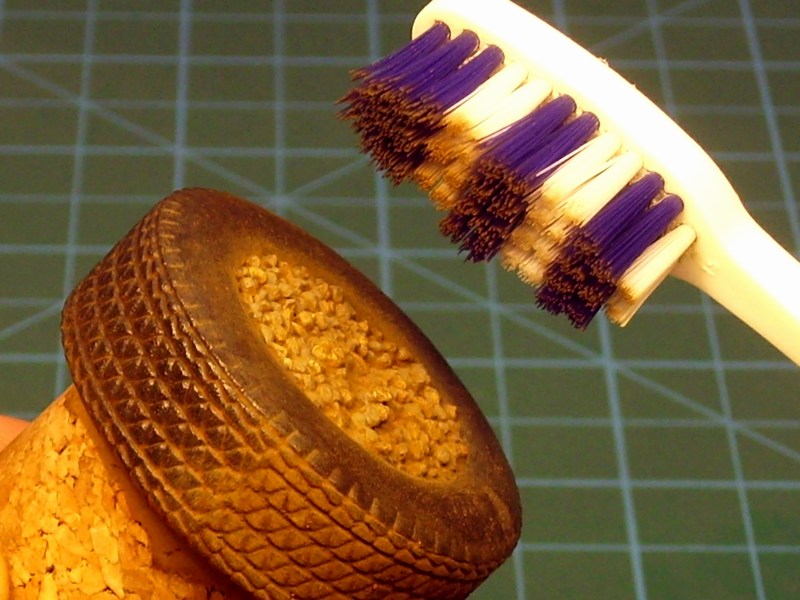
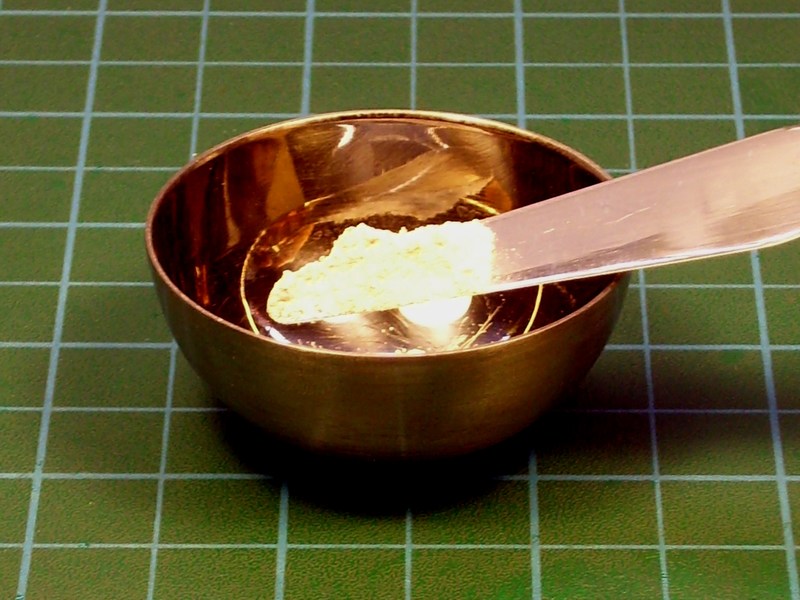
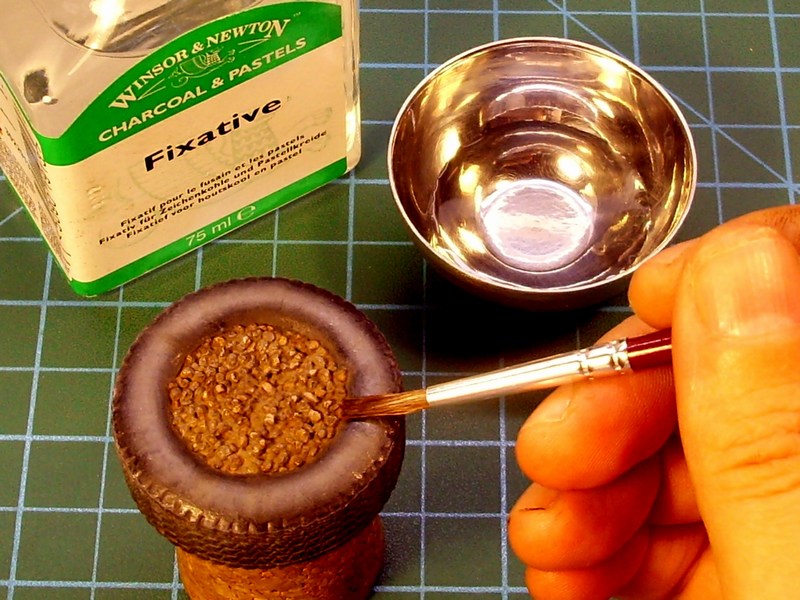
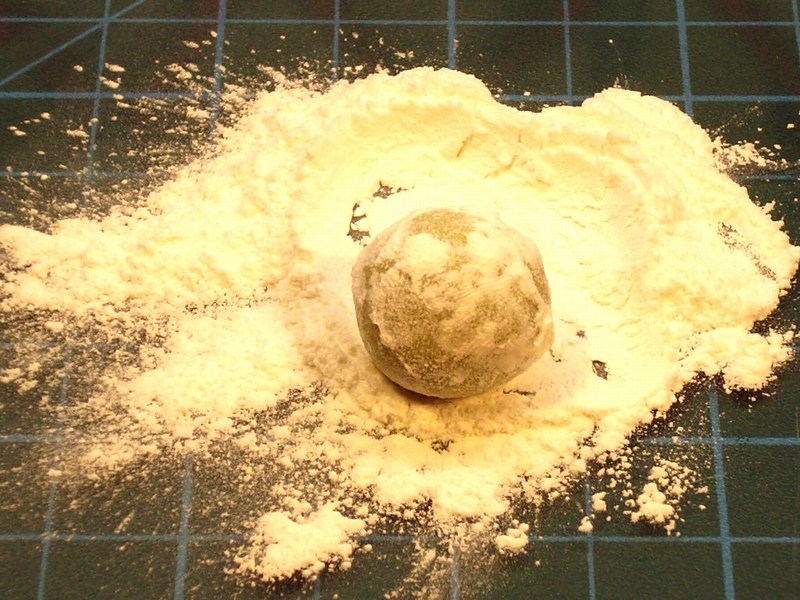
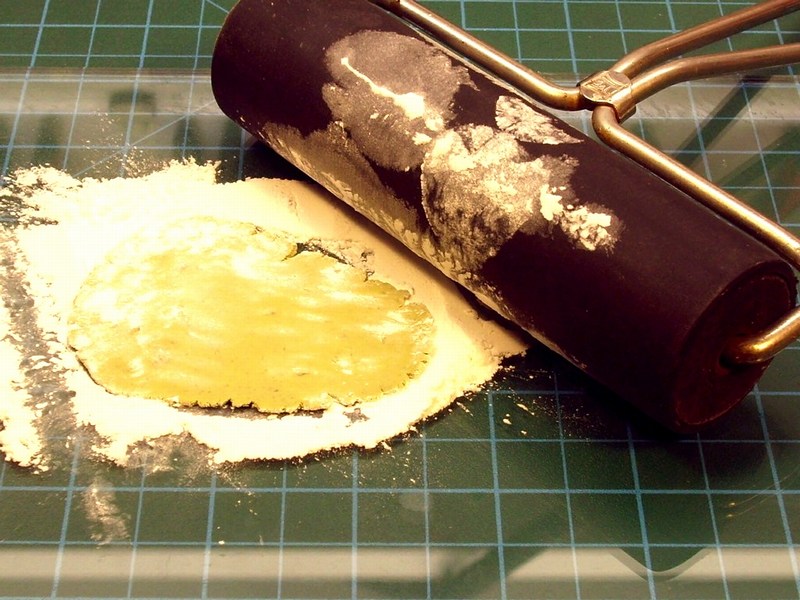
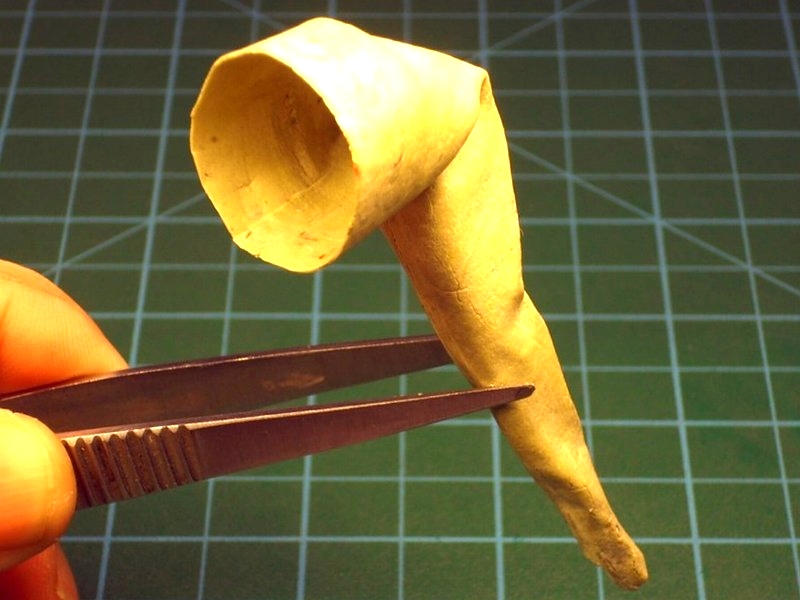
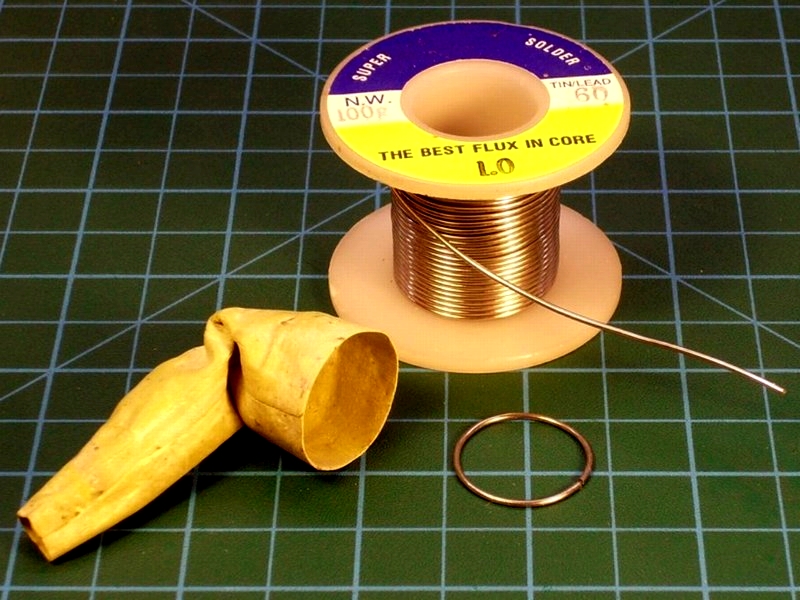
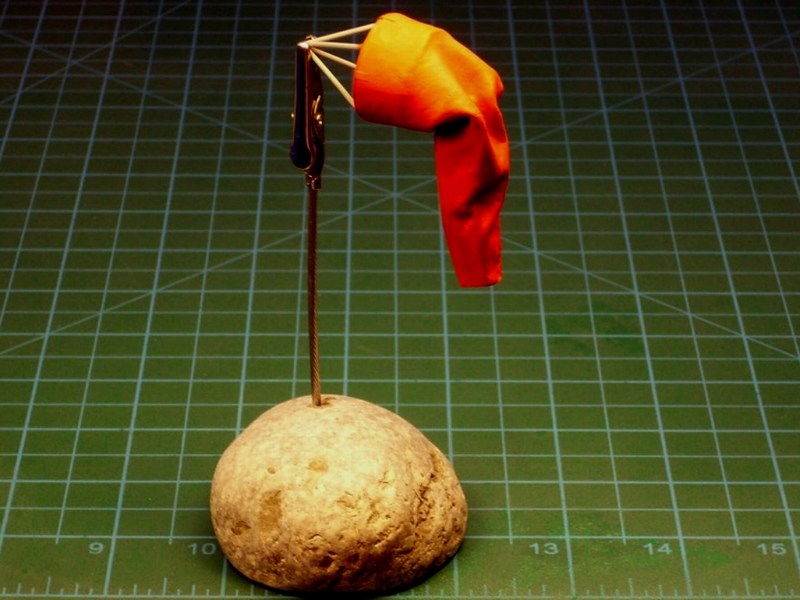
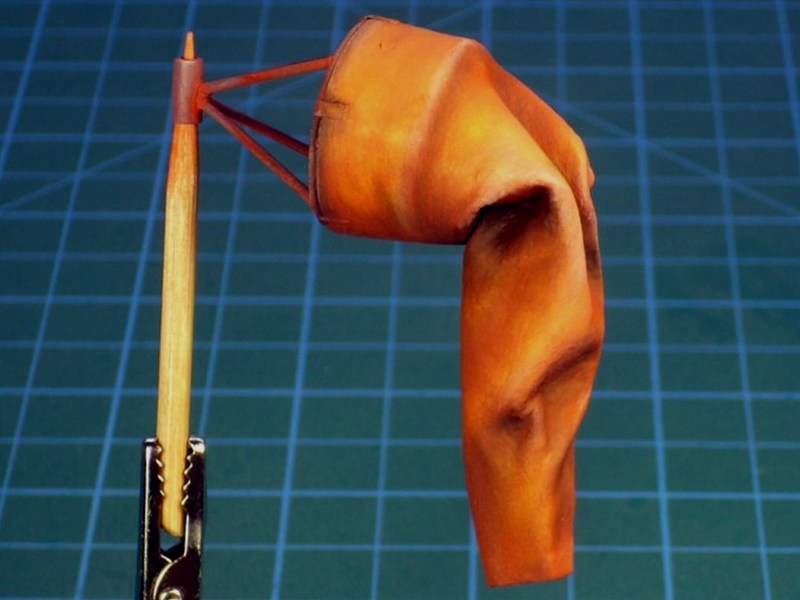
I found the idea of a deflated windsock nice, in order to fill some empty space and break the monotony of green, while remaining in scene's background same time. Although a picture of a torn windsock would be more atractive & interesting, I had to keep it simple and not overdo. Using a small amount of Milliput putty, I made a small ball, dust it with talcum powder and pressed it against the working bench with a roller until it becomes as thin as could get. The use of talcum powder is necessary to avoid Milliput sticking on roller or fingers and get easier to handle without tearing to pieces.
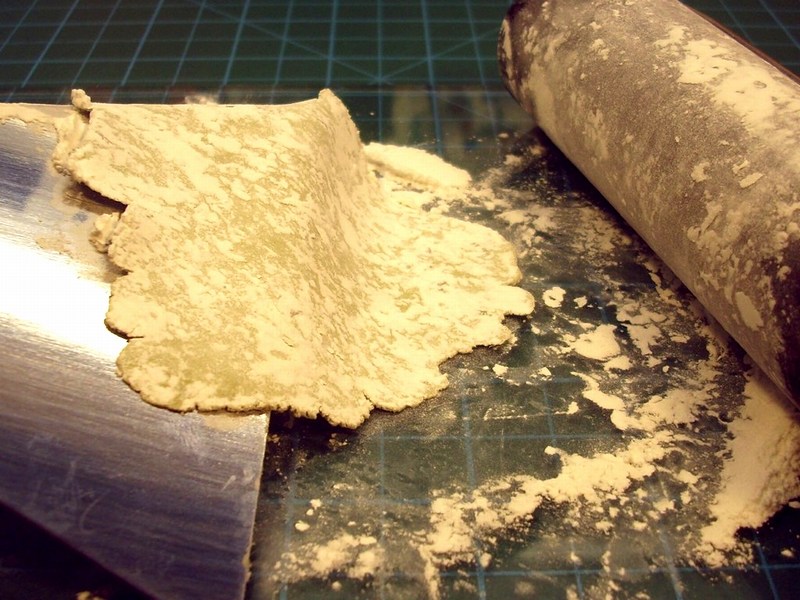

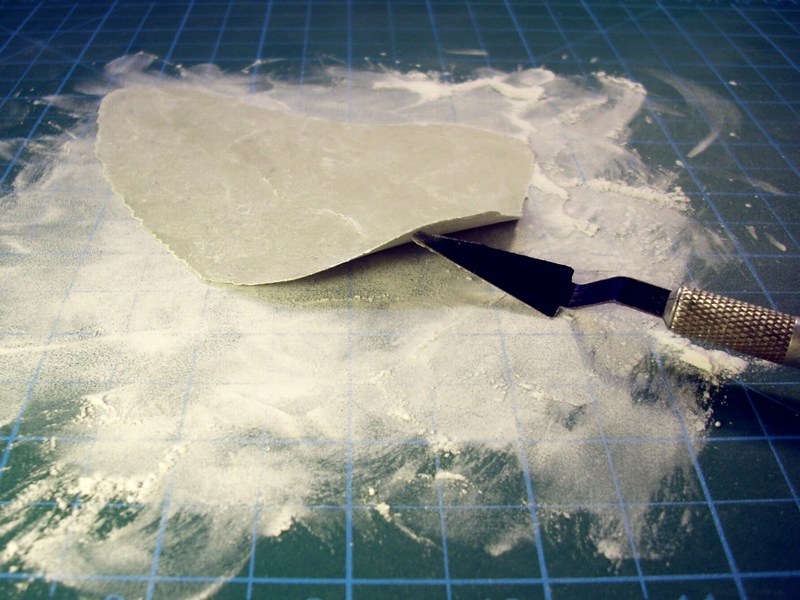
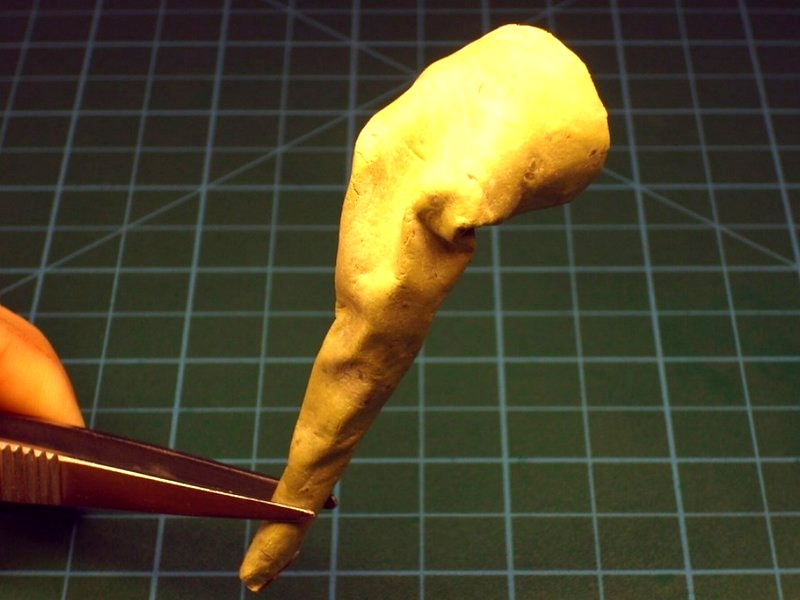
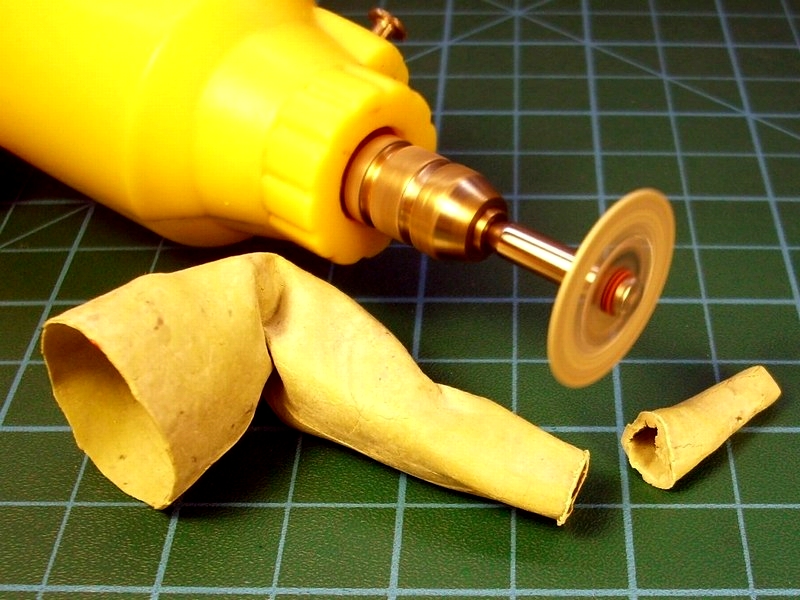
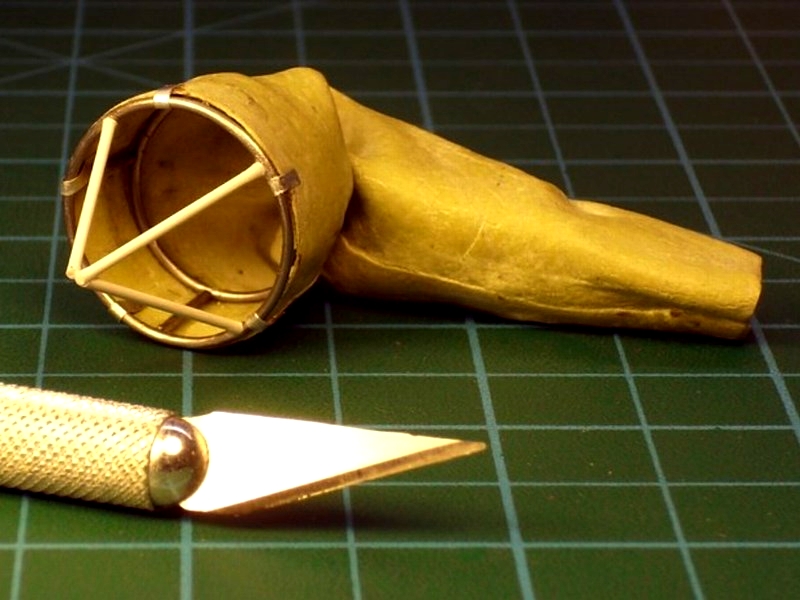
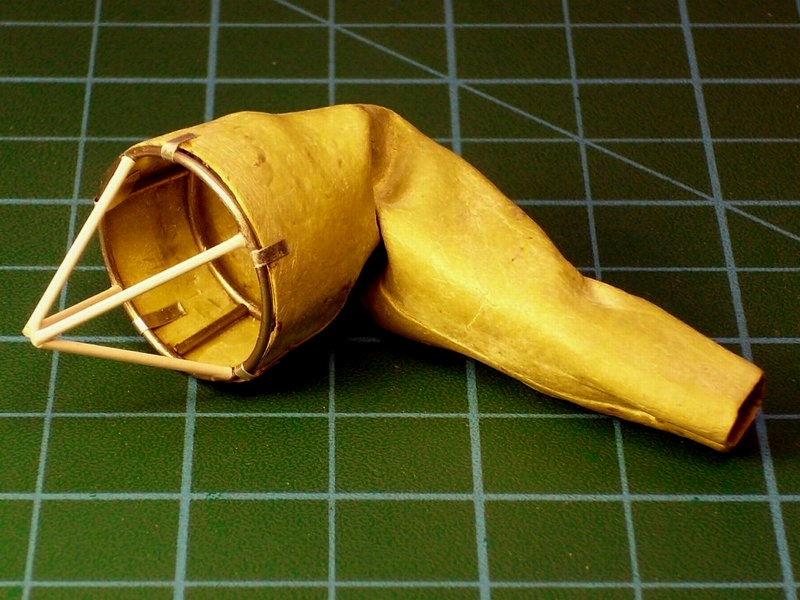
While Milliput putty was still soft, I cut it into triangle shape and rolled it up, to form into a right to scale windsock cone. Then, the cone was bended as required to look deflated and simulate cloth’s weight. The result made of epoxy putty (seems like elephant's proboscis or its just my imagination?), left few hours to get fully polymerized and then I cut the tip to achive the correct lenght dimensions. Few epoxy overcast remains that were left, also removed during cutting process. Internal frame added later, using metal wire & styrene rod.

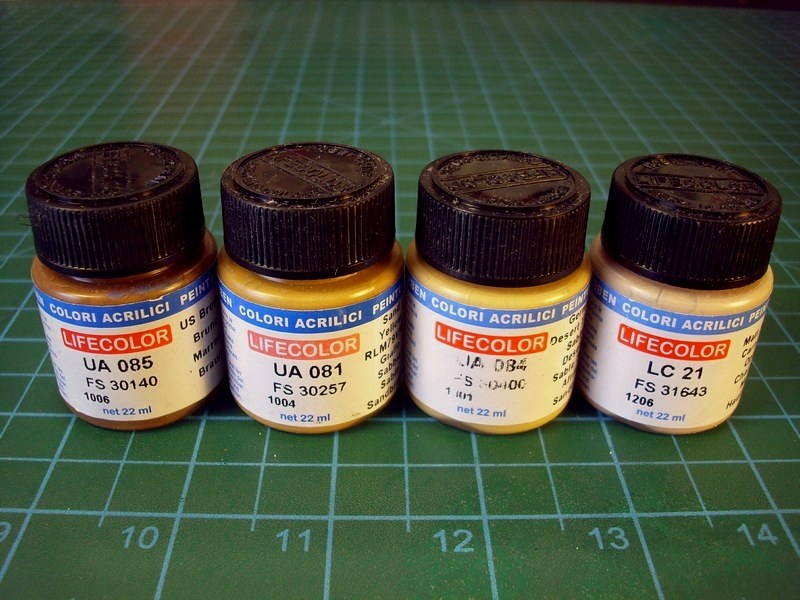
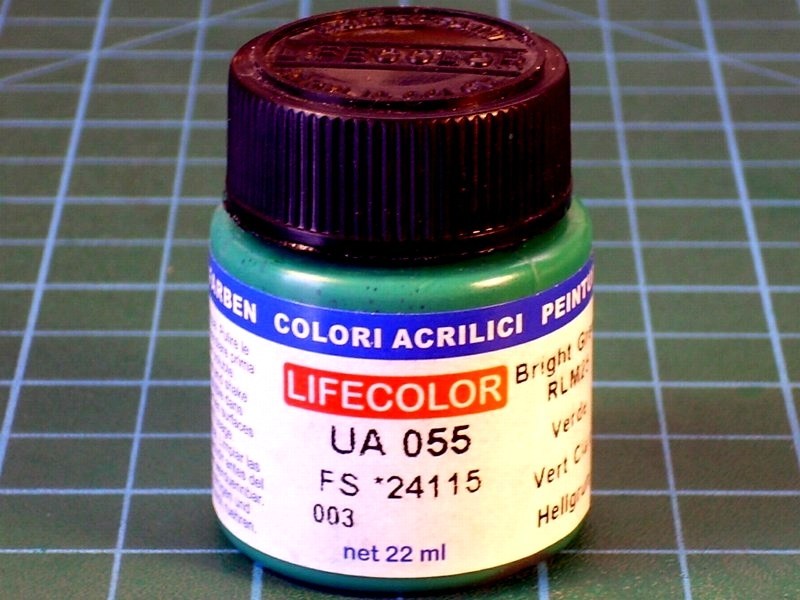
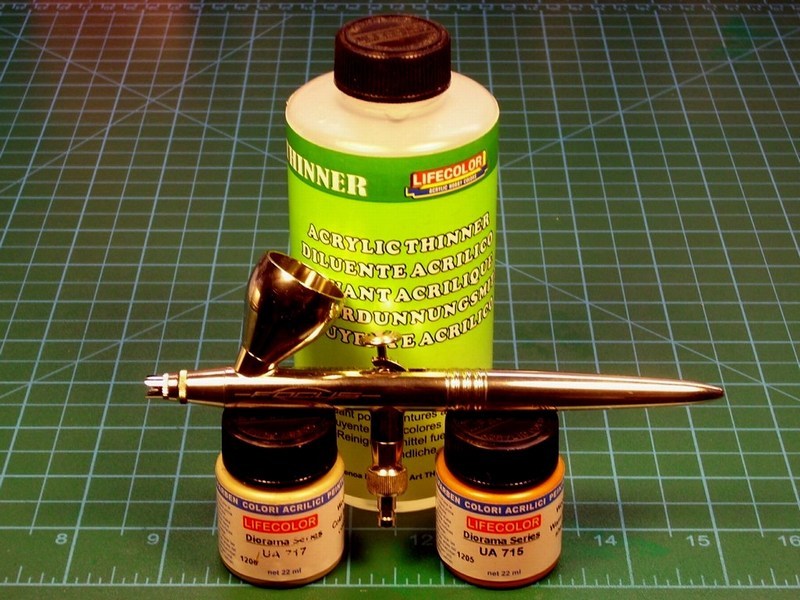
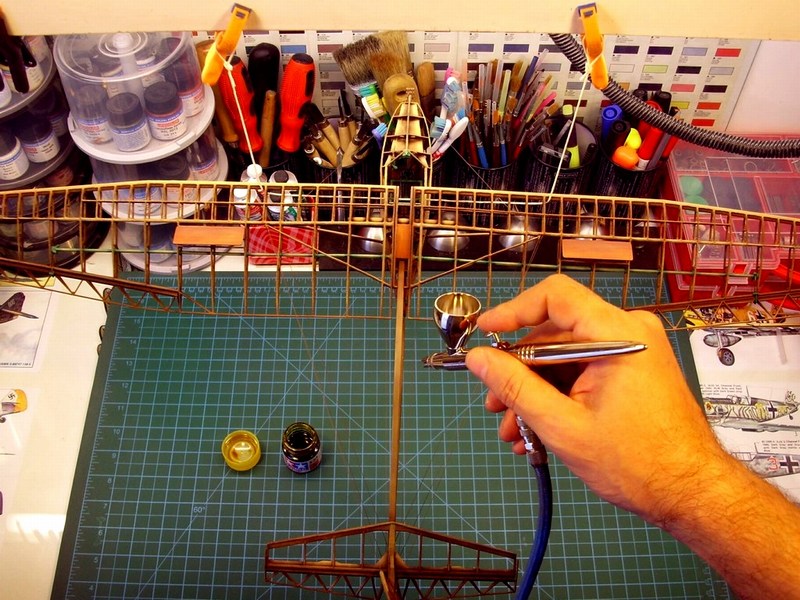
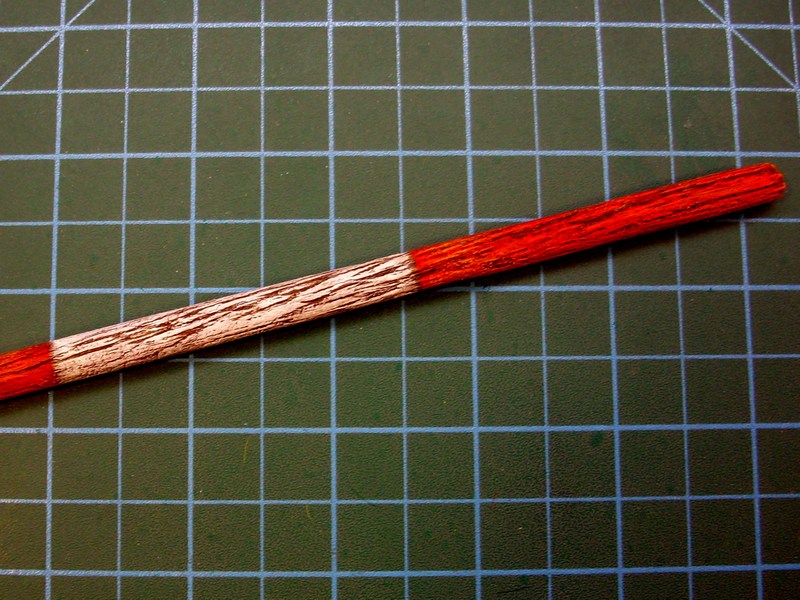
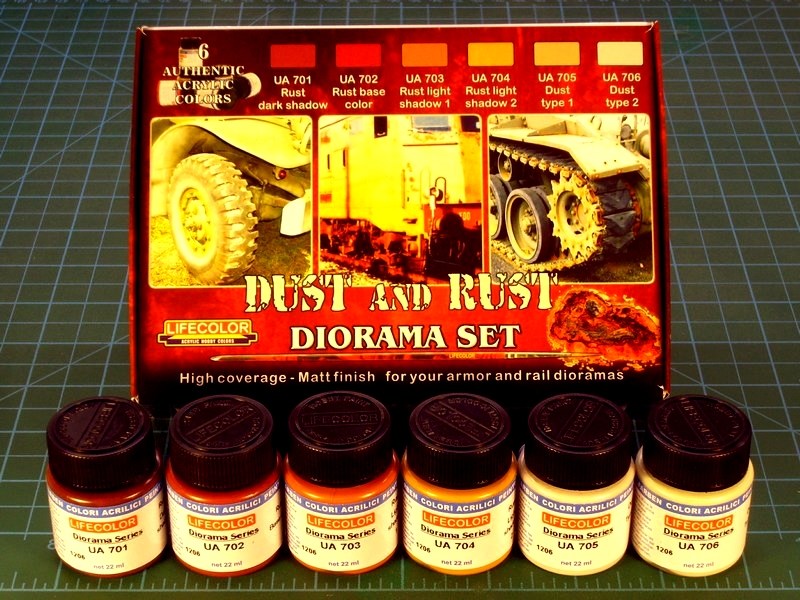
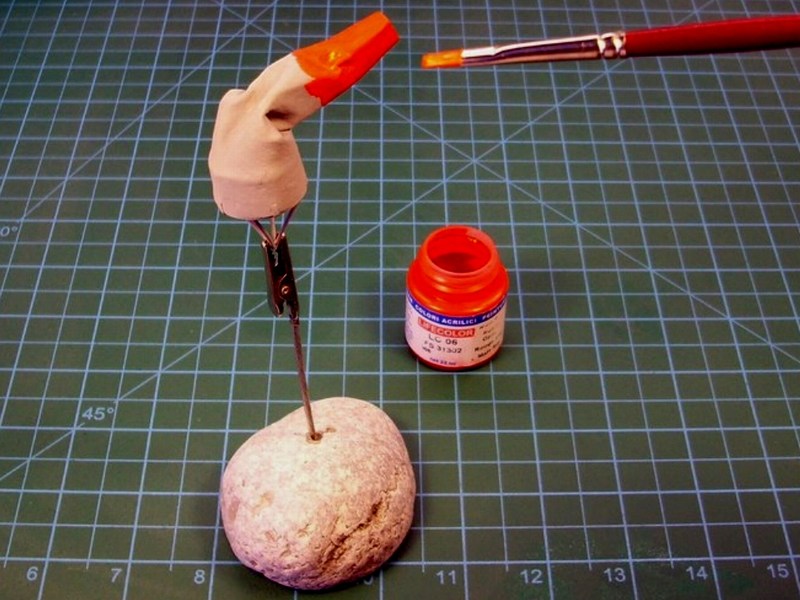
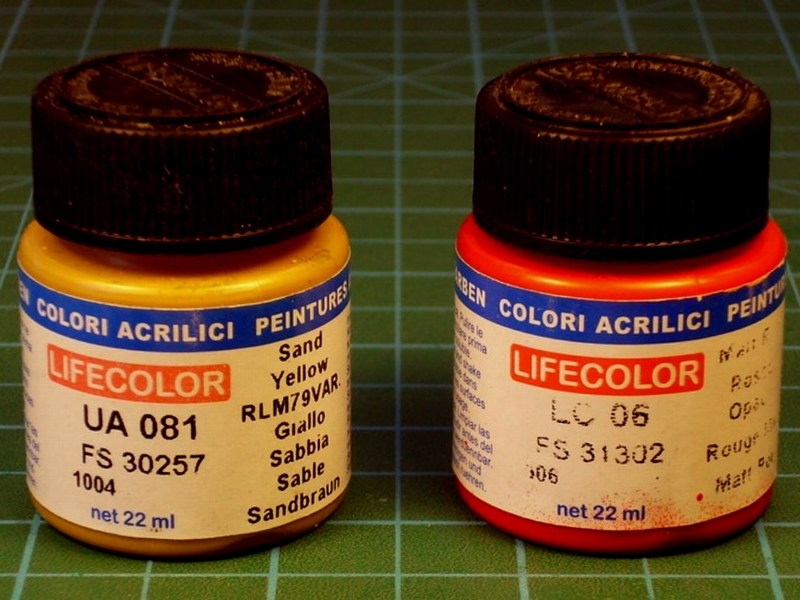
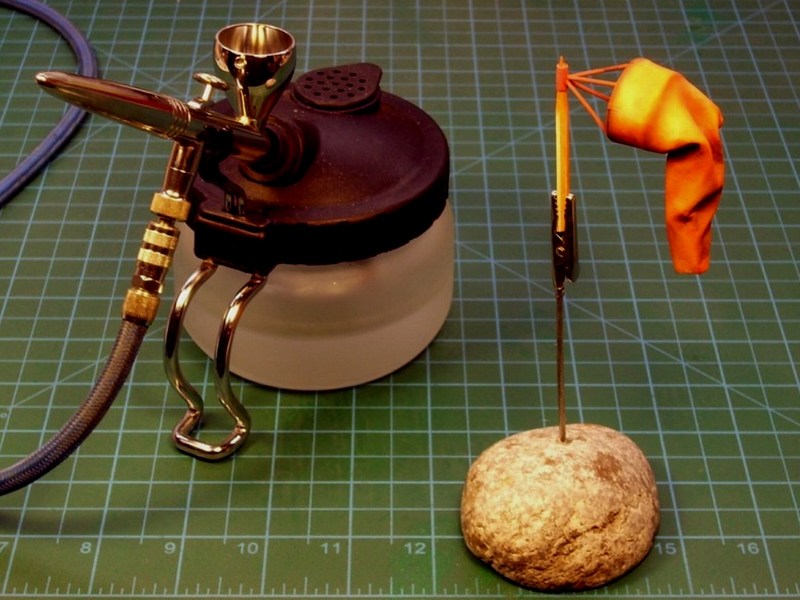
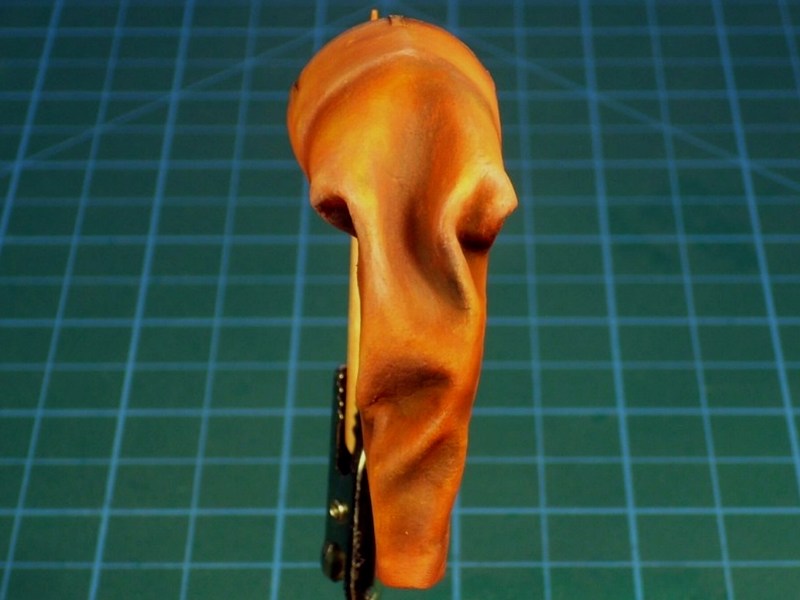
At present time, the windsock is under painting proccess. I used the FS31302 "
Matt Red" available by Life Color as LC06 acrylic, applied with a soft brush, to establish a basic layer and later blend it, to look brighter onto the points supposedly lightened more, by spraying much diluted FS30257 "
Sand Yellow RLM79VAR" available by Life Color as UA081 acrylic, just not to look too dull. After the primary painting & lighting stage, I repeatedly sprayed a very diluted mixture of thinner and FS33538 "
Yellow RLM 04" available by Life Color as UA140 acrylic, at a ratio of 95% - 5%, over selected areas such as the fabric folding edges and a few other points, that IMHO should look more enlightened

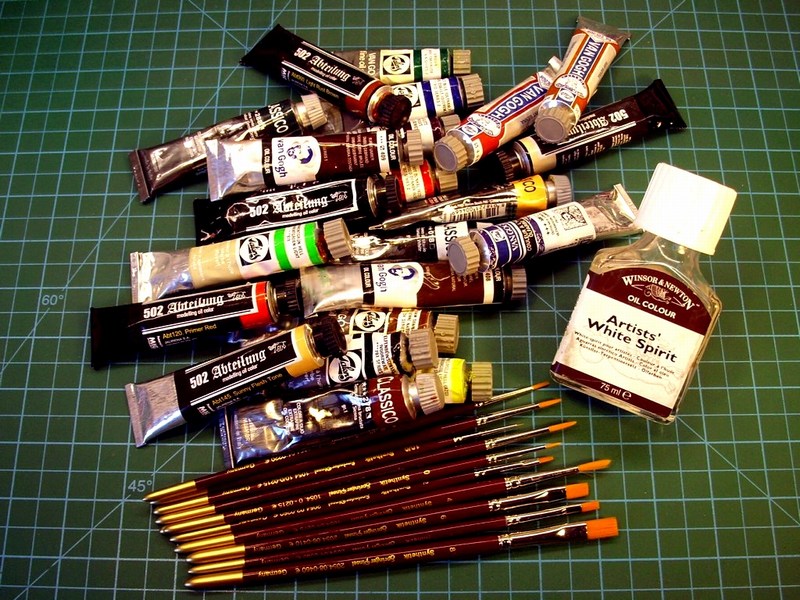
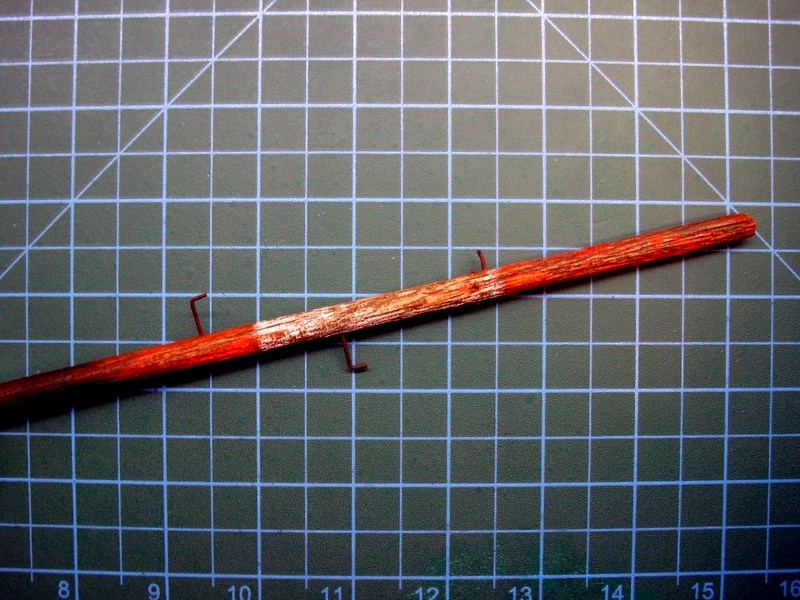
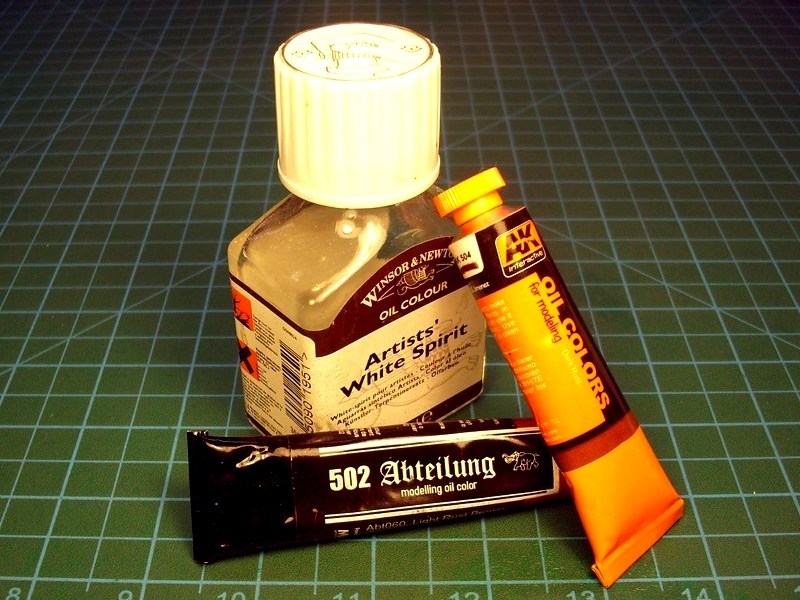
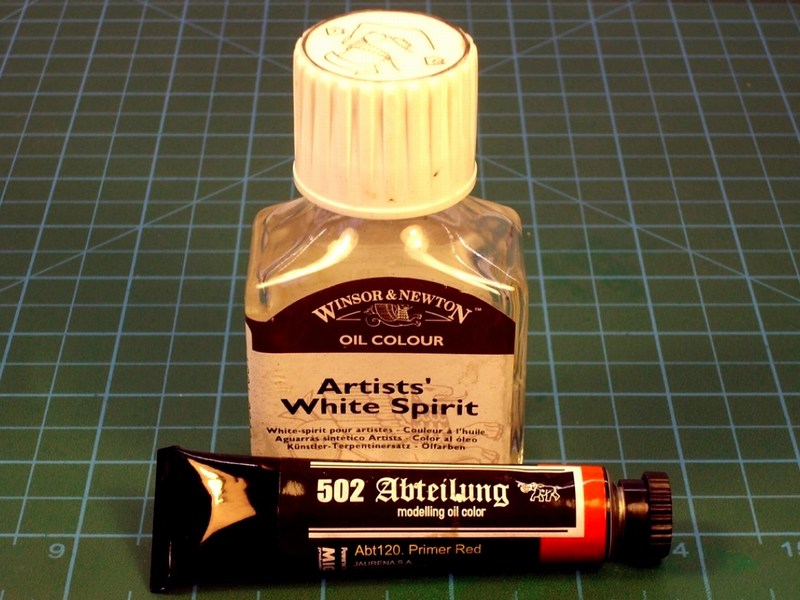
Once the acrylic paint dried, the outcome had tonality differences and looked like been faded by the sun. I had obviously overdone on highlighting the areas and therefore I had to fix this and make the shades softly blend each other. To do so, I mixed artists oil paint "
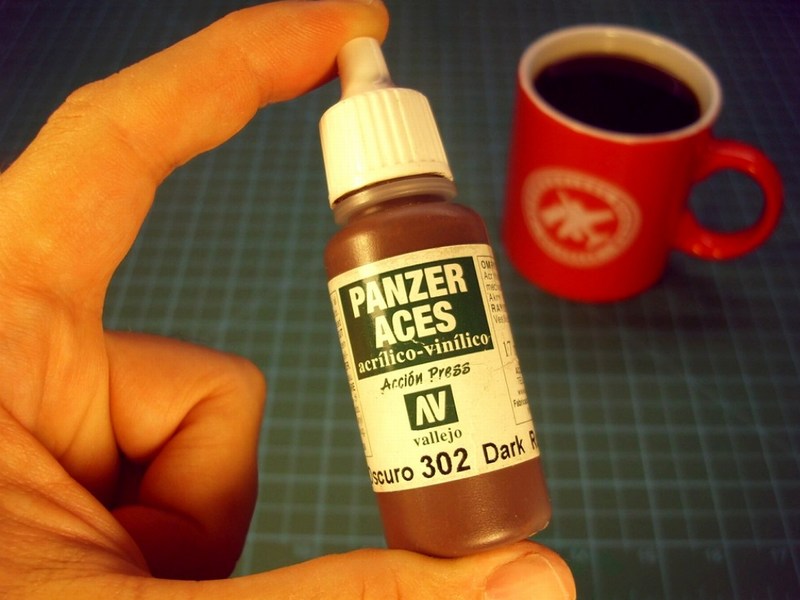
Red" by MIG Productions “
502 Abteilung†series and artists white spirit by "
Winson & Newton“ in a ratio of 5% / 95% (actually a filter) and sprayed over the windsock. I hope now it looks better than did before.

Meanwhile I found some time to deal with the green grass. Having a couple of different methods in mind to simulate green grass in scale, I found good idea to follow an old fashioned technique! I planted some grass seeds, watered daily and I'm now expecting to grow high grass soon. I’m just kidding of course - watering once every three days, is enough. Kids, don’t try this at home.
Progress has been slow for various reasons, including:
- I'm slower than a turtle trying to climb a muddy creek bank,
- I always find errors and later trying to develop ways to make model look more realistic,
- Upcoming vacations, caused laziness that lead building process to slow down,
- Wife visits my bench, holding a hammer and that could possibly means that it's about time to quit 1/18 model for a while and give full attention on 1/1 model.
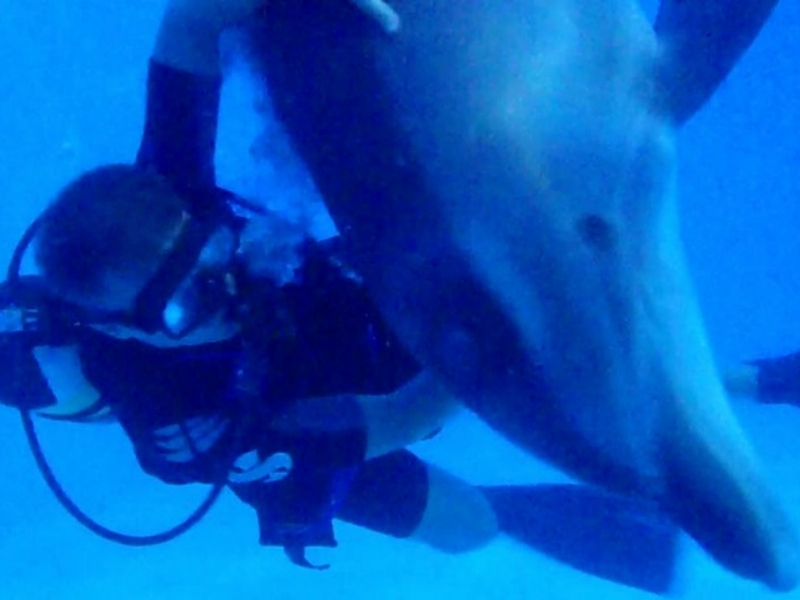
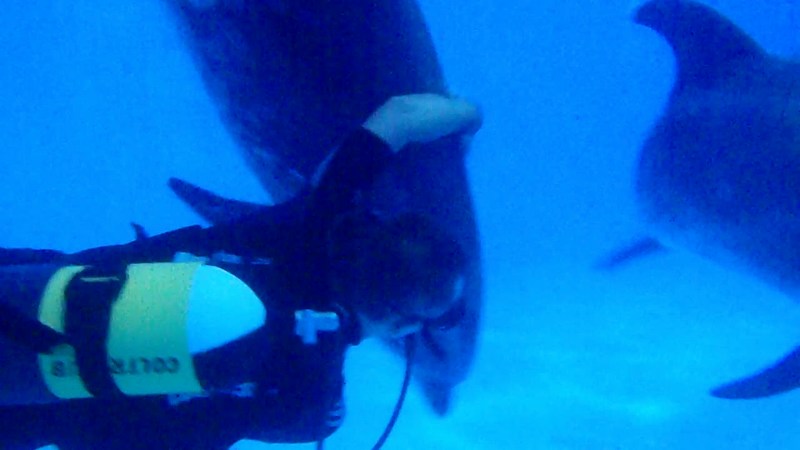
Due to all the above reasons (aka excuses), once the windsock painting process complete, I had to stop for a short relaxing brake and puzzle things out. Vacations is typically a good chance to relax, unwind & recharge batteries. We all need a break once in a while and I am no exception. I hope you can do the same and enjoy some well deserved time off. I will be back soon, picking up where I left off and complete this project. In the meantime, I plan to unplug, disconnect from anything for a few days, enjoy sunny beaches & crystal waters and hopefully have some SCUBA fun with playful dolphins - as happened last summer.

The whole grass field scene would require a 50x40 cm display base, considering that glider measures approx 70 cm wingspan in 1/18 scale. That could be a problem for my show case in home, which yes, it is big, but not big as an elephant. From the
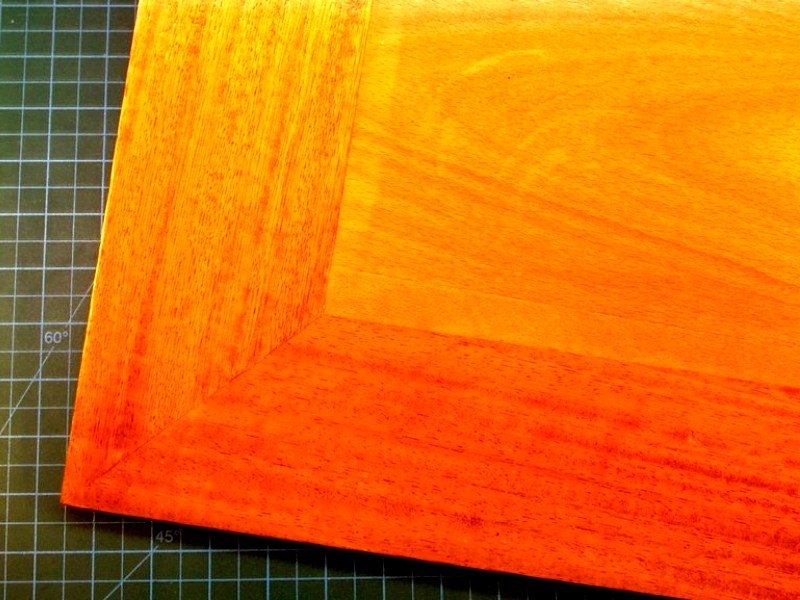
MDC - Model Display Cases store, I bought a 50x40 cm base, made of polished beechwood with MDF core.
Those who have read my previously uploaded projects, might remember that I prefer using plaster powder to build the section that recreates the ground, especially if it is asphalt. However, the 50x40 cm dimensions of the scene dictate plaster quantity more (and therefore heavier) than usual and for this reason I chose to use another material, because my goal was to build a “
grass field display base†instead of weightlifting equipment for champs. For this reason, I purchased a 50x40 cm size & 10 mm thick sheet of balsa wood from my local hobby shop, which I cut & shaped around with my cheaper than dirt
Black & Decker 400 W / 3000 spm jigsaw bought for 20 € only. The basic idea, is to produce a thick & flat surface which protrudes approx 10 mm beyond the polished beechwood base, on which later green grass & extra stuff will be added where is needed.
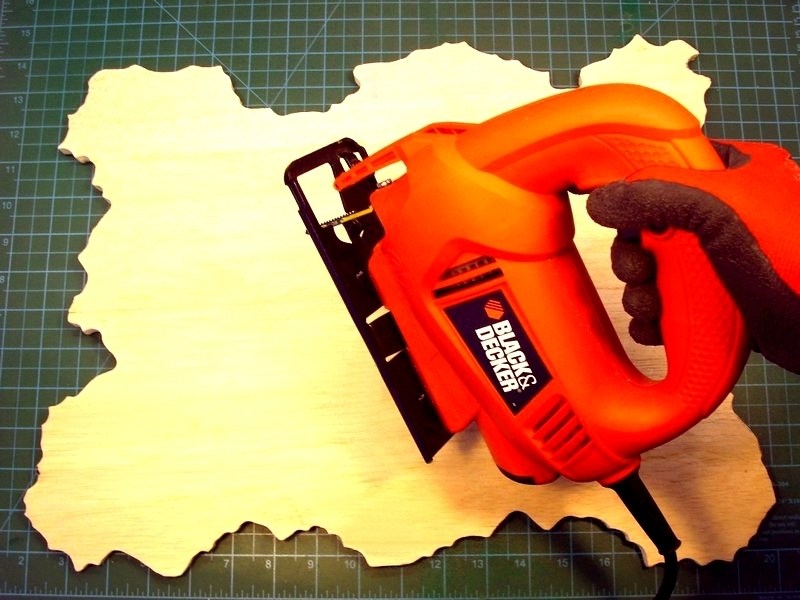
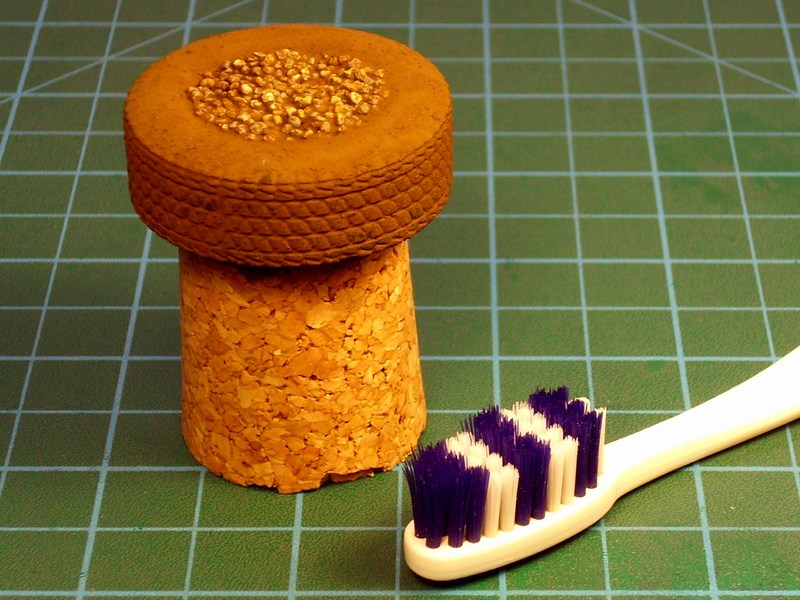
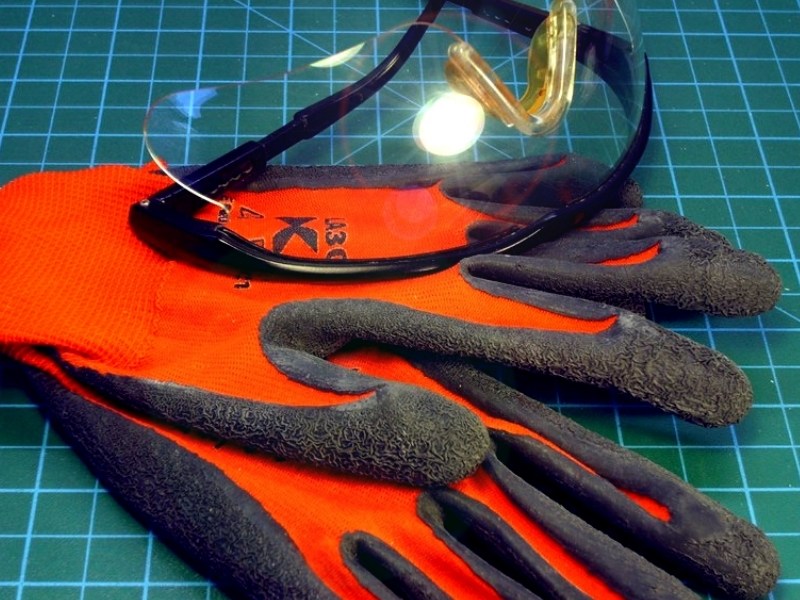
Remember that operating a freehand held jigsaw could be a bad idea if not pay attention on job. Sawdust may also cause problems when breath or shallow. A powerful vacuum system to suck away the dust should be used all time to keep the workbench area clean. Using a breathing mask & pair of protection glasses to prevent dust contact with lungs & eyes, is also an important matter that you should seriously take care of. My recommendation is to also wear working gloves - made of kevlar if possible.
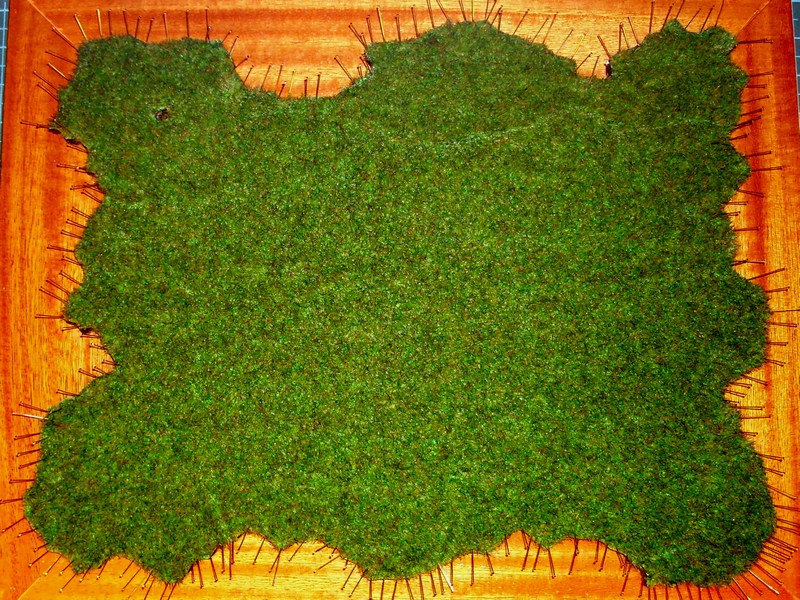
Unlike the regular practice followed in my previous projects, in which I glued static grass & plants directly on ground untill filling the whole area, I decided to change for an easier and more appropriate method, taking into account the increased surface to be covered. To do so, I bought a 50x40 cm size green grass carpet, made by
Busch which specializes mostly in train dioramas. The green grass carpet will be glued on the 10 mm thick sheet of balsa wood and will become the main substrate of a dense grass covered ground. Later, I plan to add more static grass & plants, to avoid the monotonous flat football field alike green pattern and make it look closer to reality.
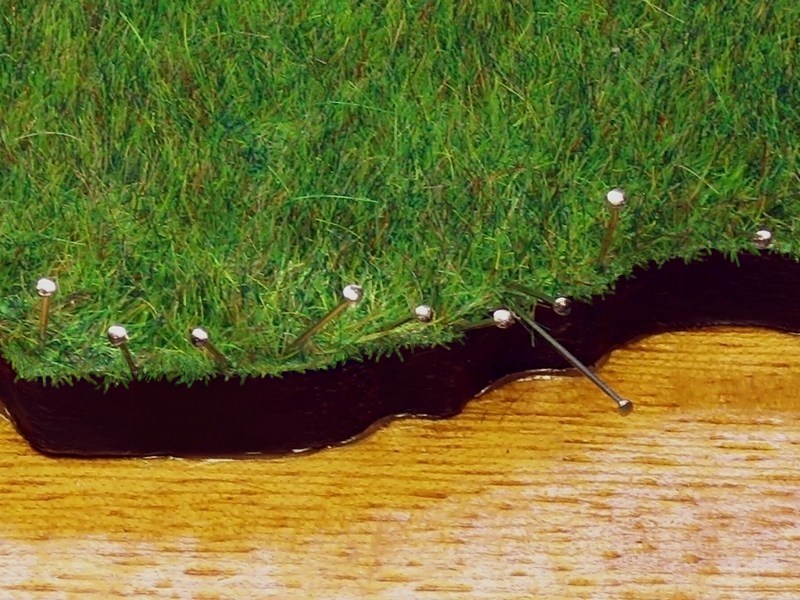
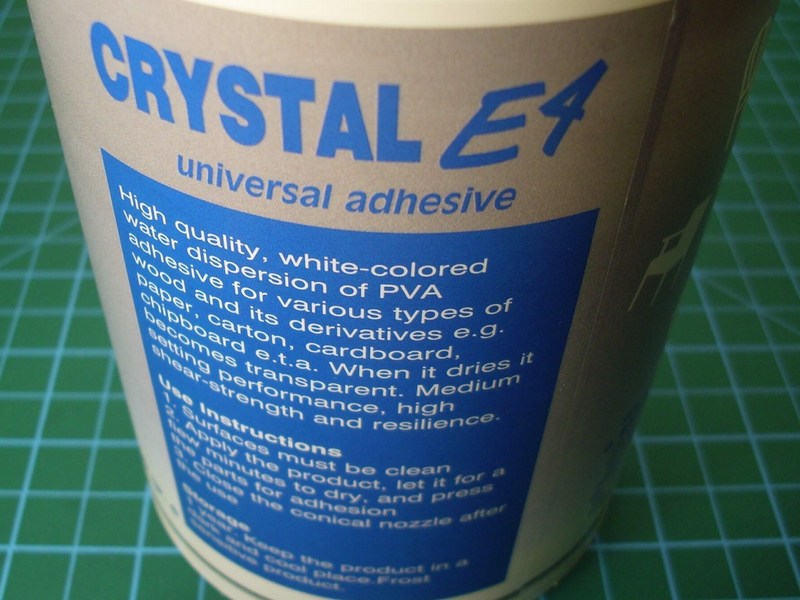
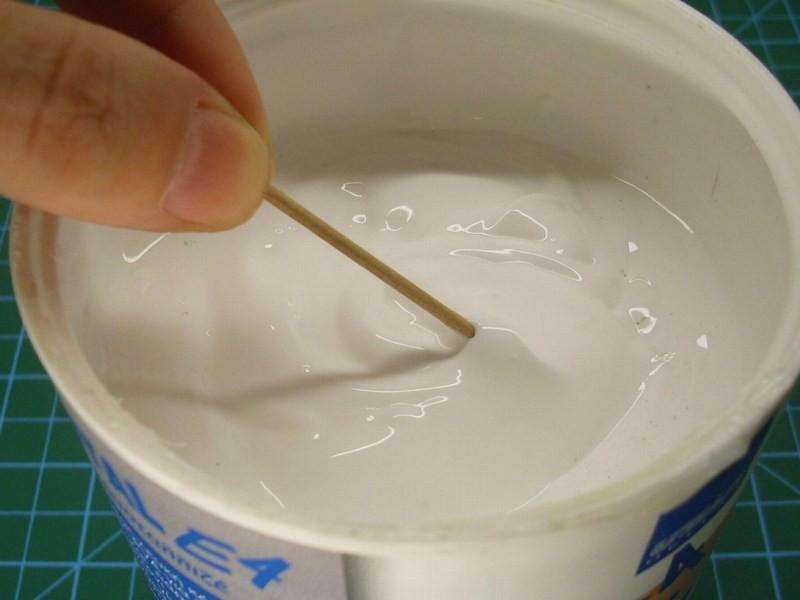
Using scissors, I cut around the Busch's grass carpet, according to contour of the 10 mm thick balsa wood sheet. The grass carpet was secured in place with steel pins and glued onto balsa using water based white glue for wood, which becomes transparent when it dries. Once the process complete and the glue dried, the steel pins which kept the grass carpet nailed on balsa sheet, were carefully removed.

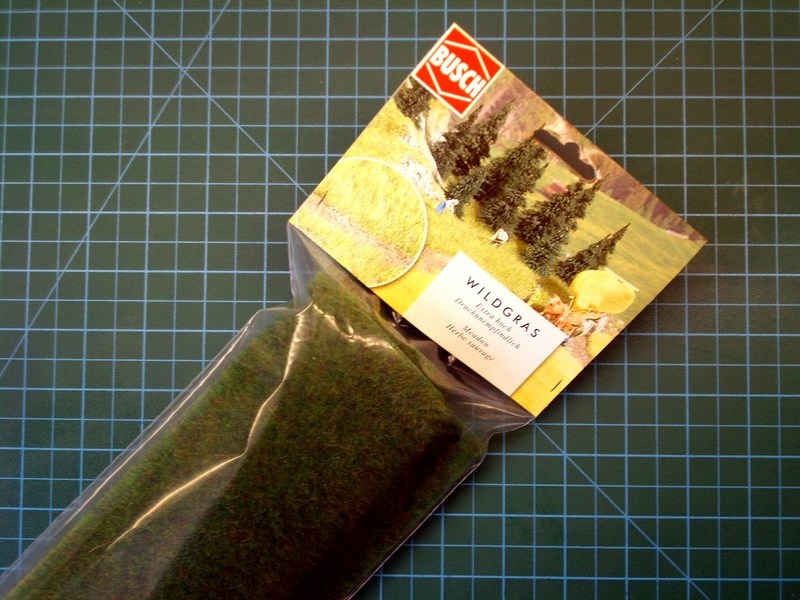
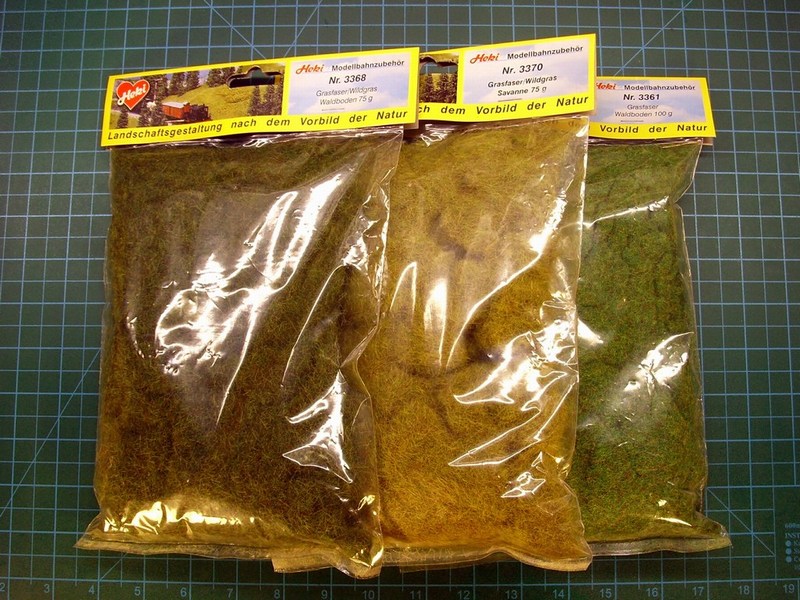
As previously stated, the scene supposed to takes place in Spring. Next job is to plant an additional static grass layer over the grass carpet. To do so, I used different colours of
Heki static grass found at my local hobby shop. Heki, also specializes mostly in train dioramas. Someone might ask, why I had to apply the grass carpet first and then spread additional layer of static grass, rather than just settle for 2nd option only. The reason that I followed this tactic, is to ensure that the density of the grass would be satisfactory, such that the soil underneath, would not be visible. It could be arguable, that this tactic might be double work for nothing. Well, I only hope that the final result will worth the experimentation & risk taken.
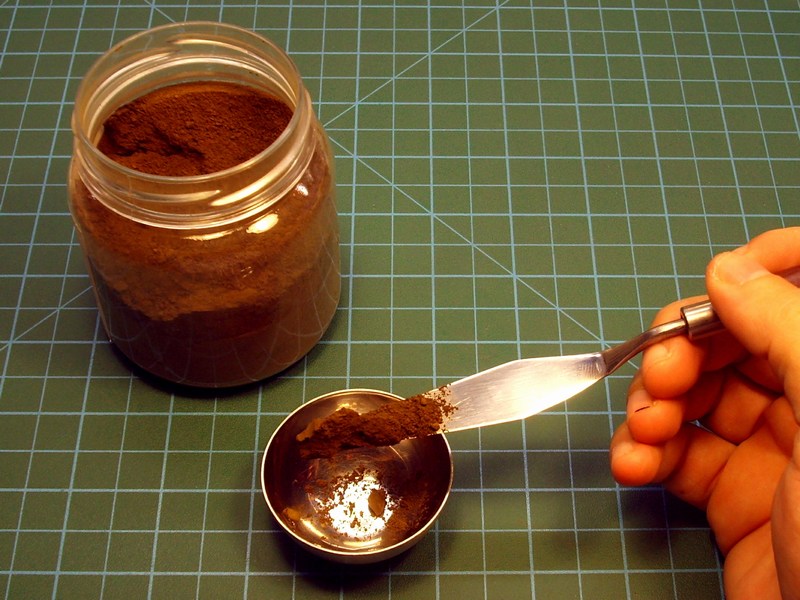
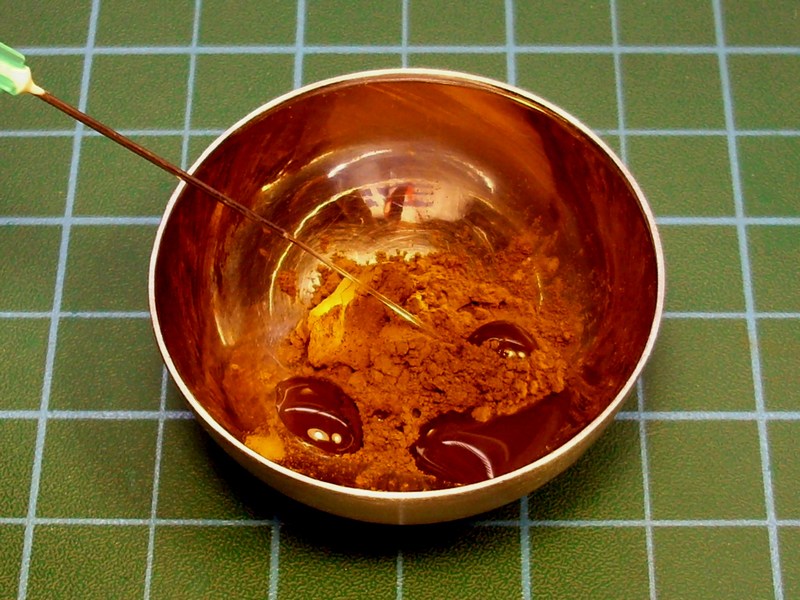
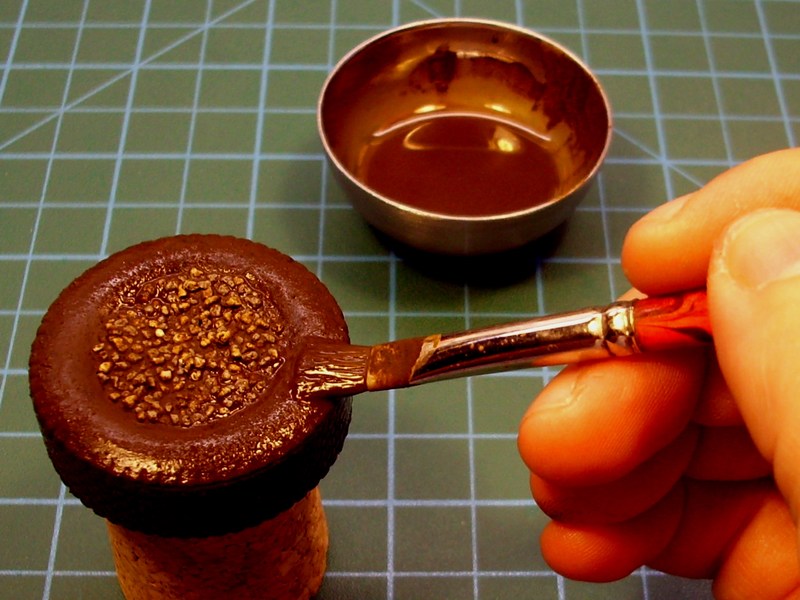
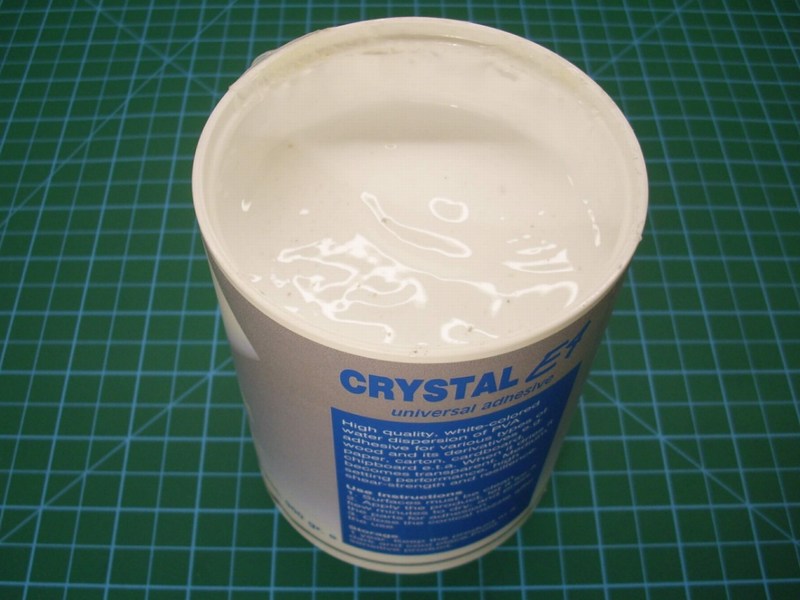
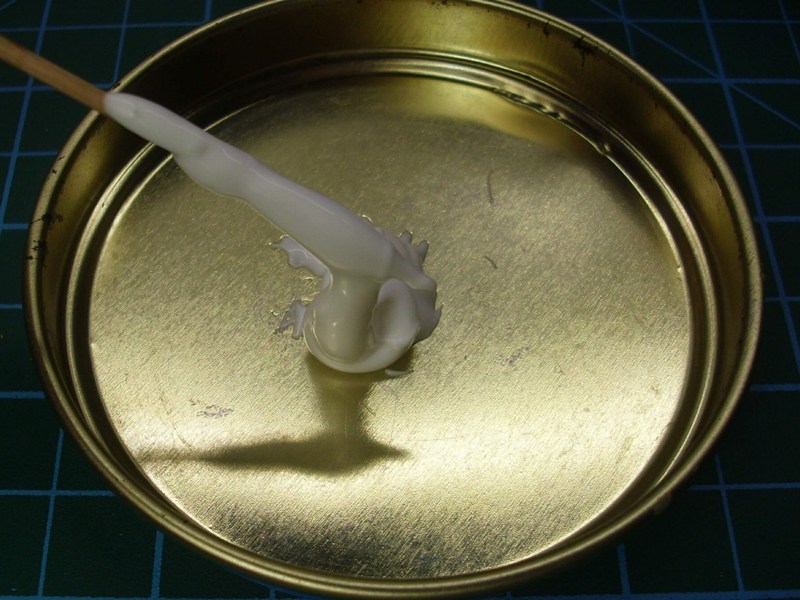
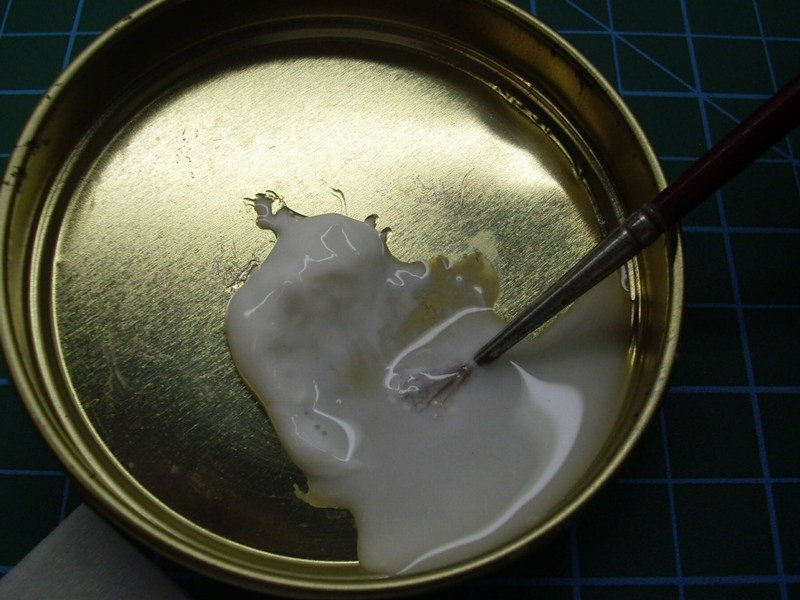
So, I pick a small quantity of water based white glue, placed it into a small metal container, add just few drops of water with a syringe to make the right mixture and finally I applied on the desired areas to be filled with additional static grass & plants, using a wet brush. Because the mixture is enriched with water based glue, it is easy to correct possible mistakes.

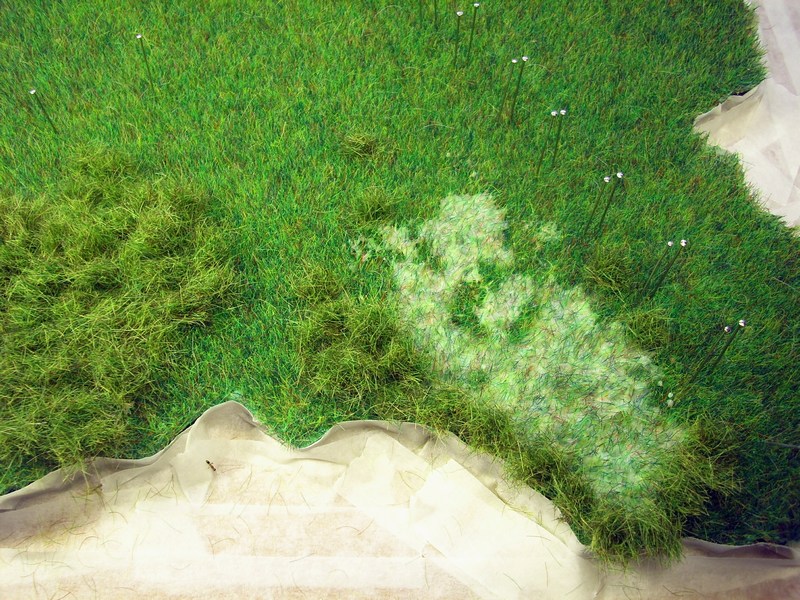
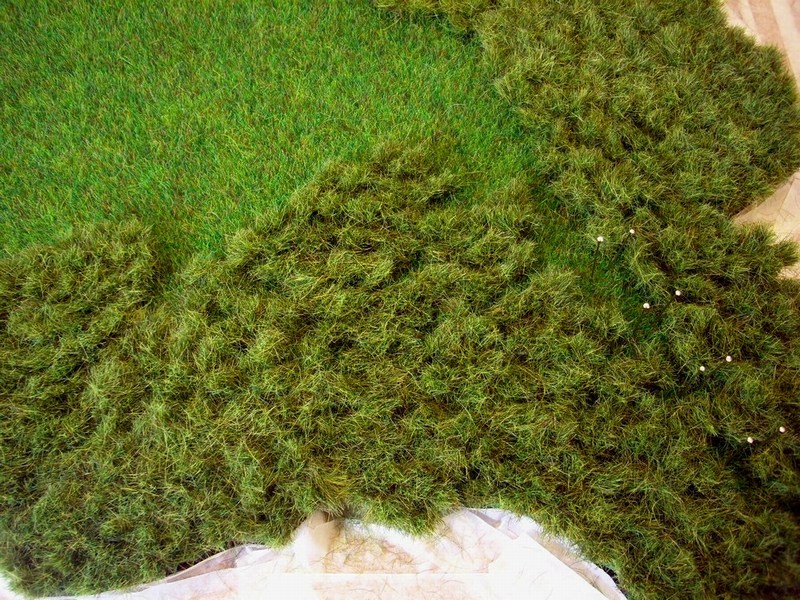

No, this is not the final form of grass - be patient for next WIP updates. For the moment, I am watering the base twice a day, hoping the grass to grow soon.